Follow along as I tear down my Avalon Nano 3S to perform some needed maintenance.
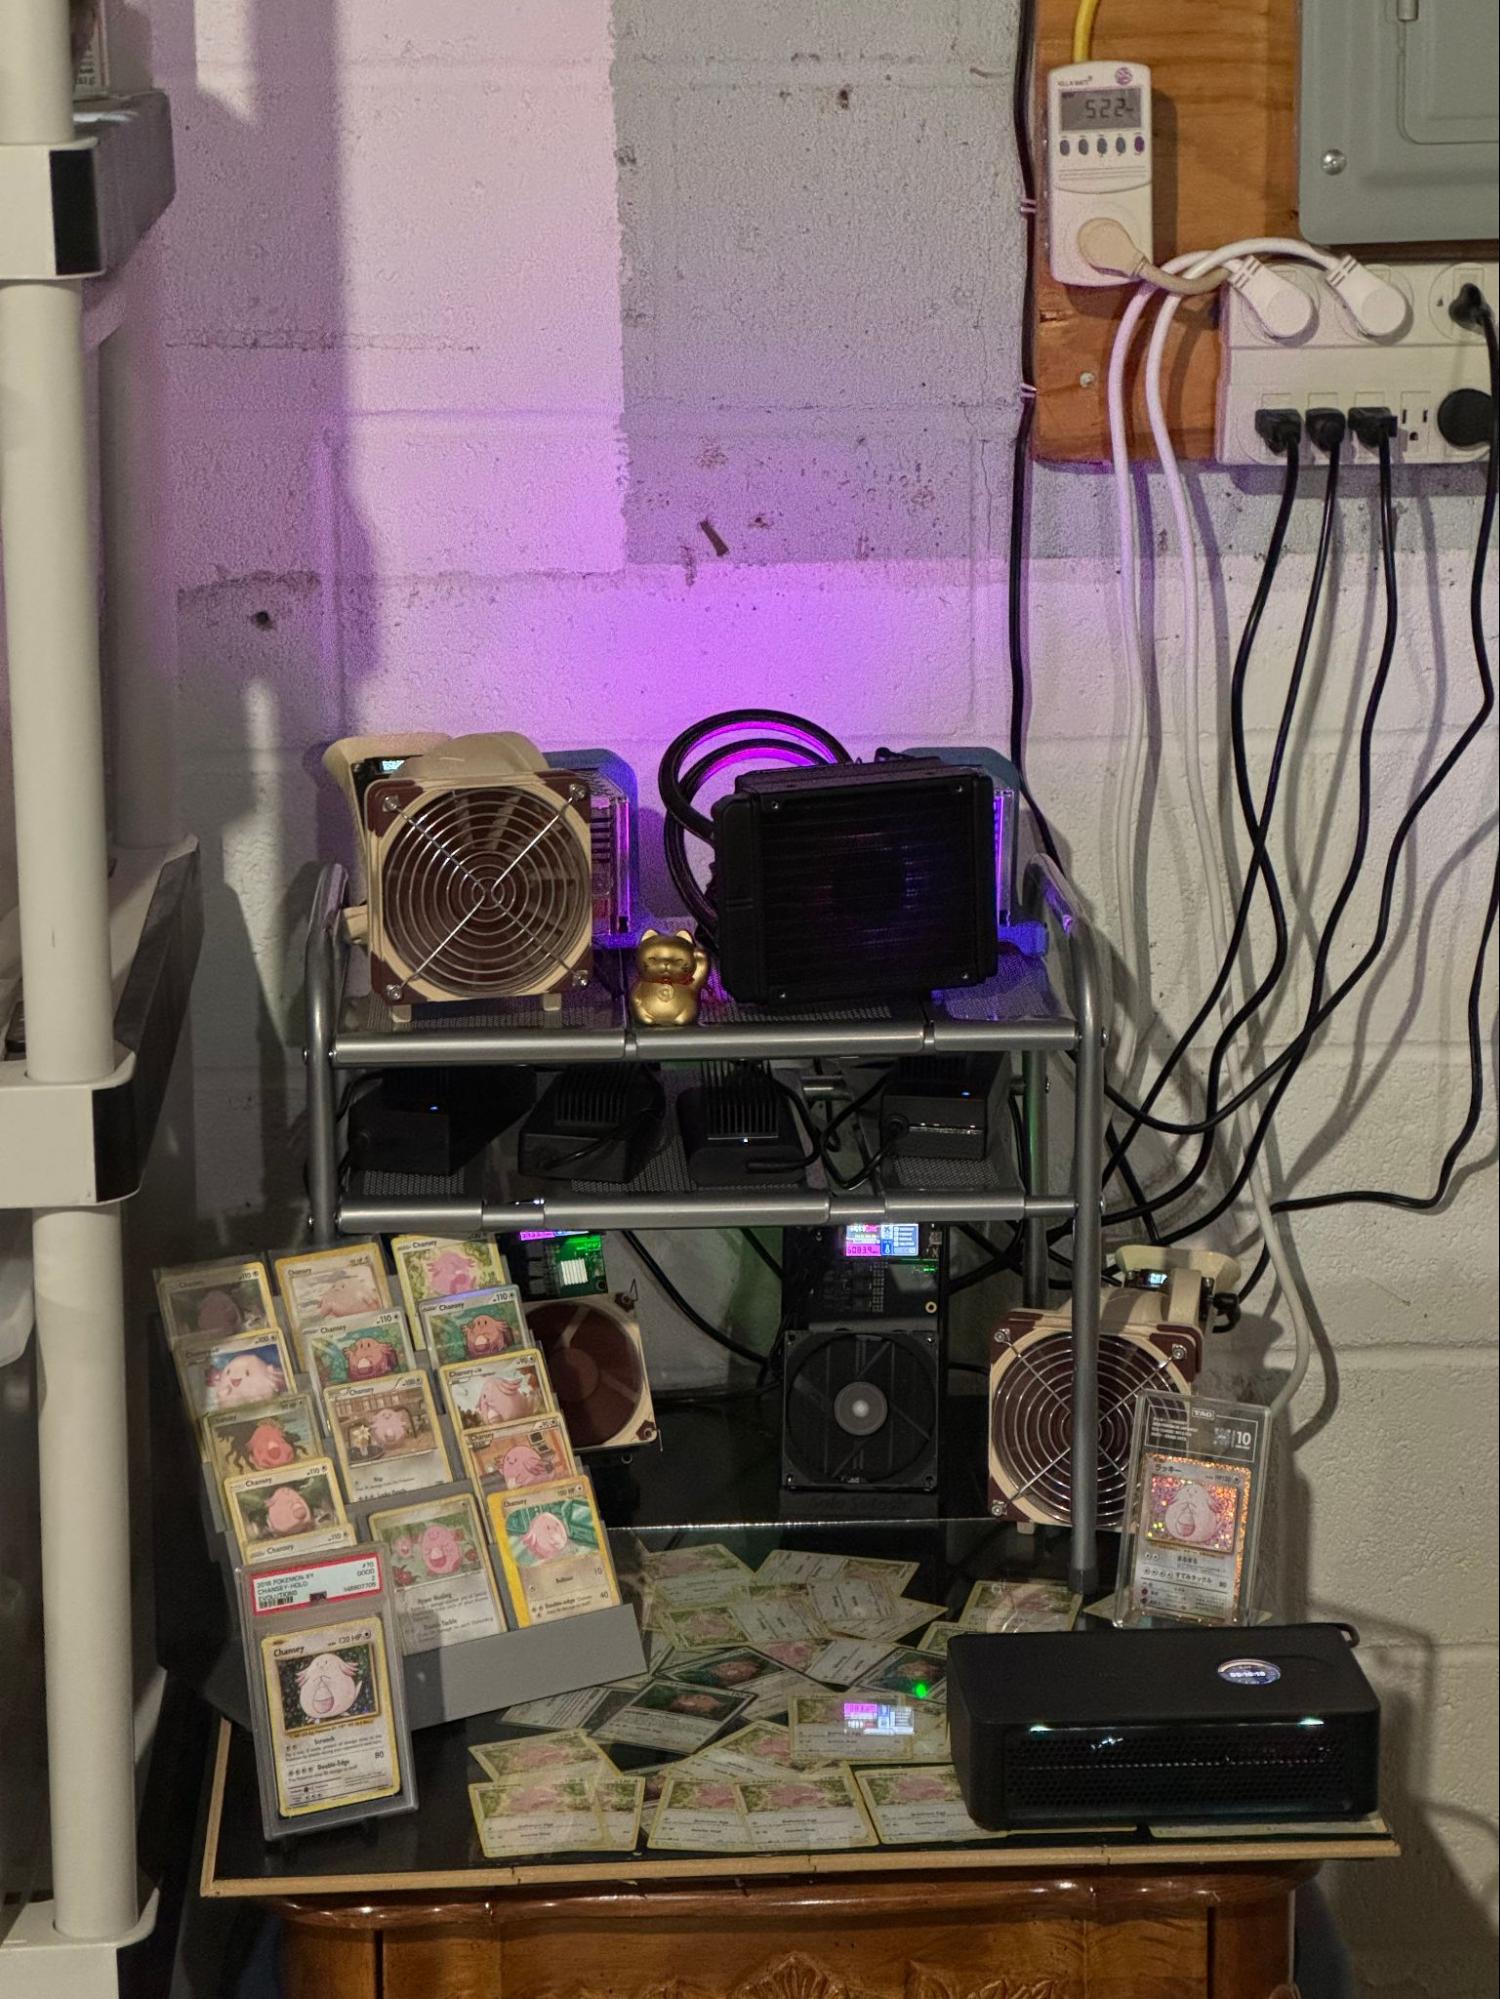
The Avalon Nano 3S is one of the simplest home miners you can run. A small form factor, quiet-ish, plug and play, neat features like a reusable filter and LED lighting effects. Not to mention it also hashes at a real 6 to 7 TH/s on High mode for about $240. It's the kind of machine you plug in, point at a pool, and mostly forget about. Which is exactly what I did when I purchased this in late November 2025 LOL. I initially pointed it at a DGB pool to make sure it worked as expected when hitting a block, then moved it over to AtlasPool for a moonshot at 3.125 BTC. But that was 4 months ago and I'm seeing signs that it needs some maintenance!
So what are the signs and does one really need to do a teardown like this for maintenance? No, but:
- I'm naturally inquisitive and constantly tinkering and love doing oddball projects.
- When I noticed visible dust buildup around the outside and inside of the fans I realized my can of air was not going to do a sufficient cleanup job.
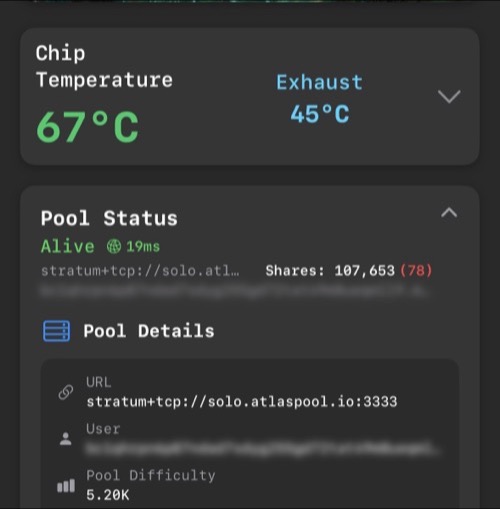
- These units run HOT, like…80–90°C chip temp hot on High. In fact the only way I can run continuously on High is to use HashWatcher App to manually control the fan speed — I started at 50% but had to keep bumping it up as dust accumulated.
- Lastly, the quality of the factory thermal paste between the ASIC chips and the heatsink is kind of a mystery. Like any thermal paste, over time it dries out, cracks, and stops doing its job which is to act as a thermal bridge between the chips and heatsink to draw heat out that way instead of through the board and surrounding components.
I pulled mine apart for a paste refresh and documented the whole process. This is straightforward work — no special skills needed, just patience and some mindfulness.
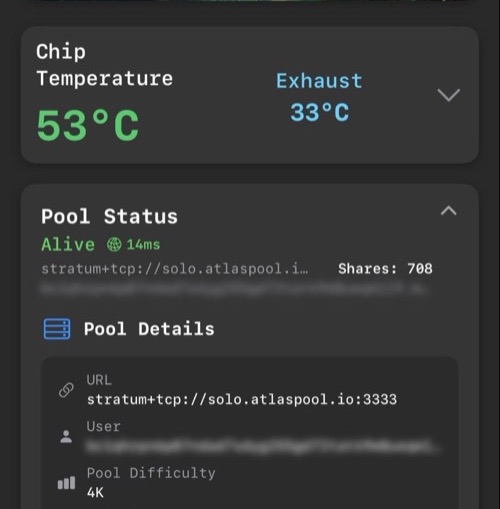
💡 Why bother? Prior to the maintenance I had gradually increased my fans from 50% to 65% just to keep chip temps around 60°C on High. After the cleaning and repaste I'm running the fans at 50% to maintain chip temps below 60°C. Also on High mode (hashrate 6.8 TH/s on solo.atlaspool.io).
What You'll Need
- Small Phillips head screwdriver (JIS #1 or Phillips #1 — 2 case screws are tiny, 4 are small)
- Isopropyl alcohol, 70–90%+ (99% preferred)
- Cotton swabs / Q-tips
- Paper towels or lint-free wipes
- Thermal paste — MX-4, MX-6, or Kryonaut (I use Arctic MX-4)
- Compressed air can (used to blow dust and old paste particles away)
- Clean, well-lit workspace with somewhere to organize screws
⚠️ Before you start: Power the unit off and unplug completely. Let it sit 30 minutes to an hour until it is cool. The heatsink and ASIC board hold heat and you don't want to mess with cleaning and repasting hot or warm chips.
Disassembly
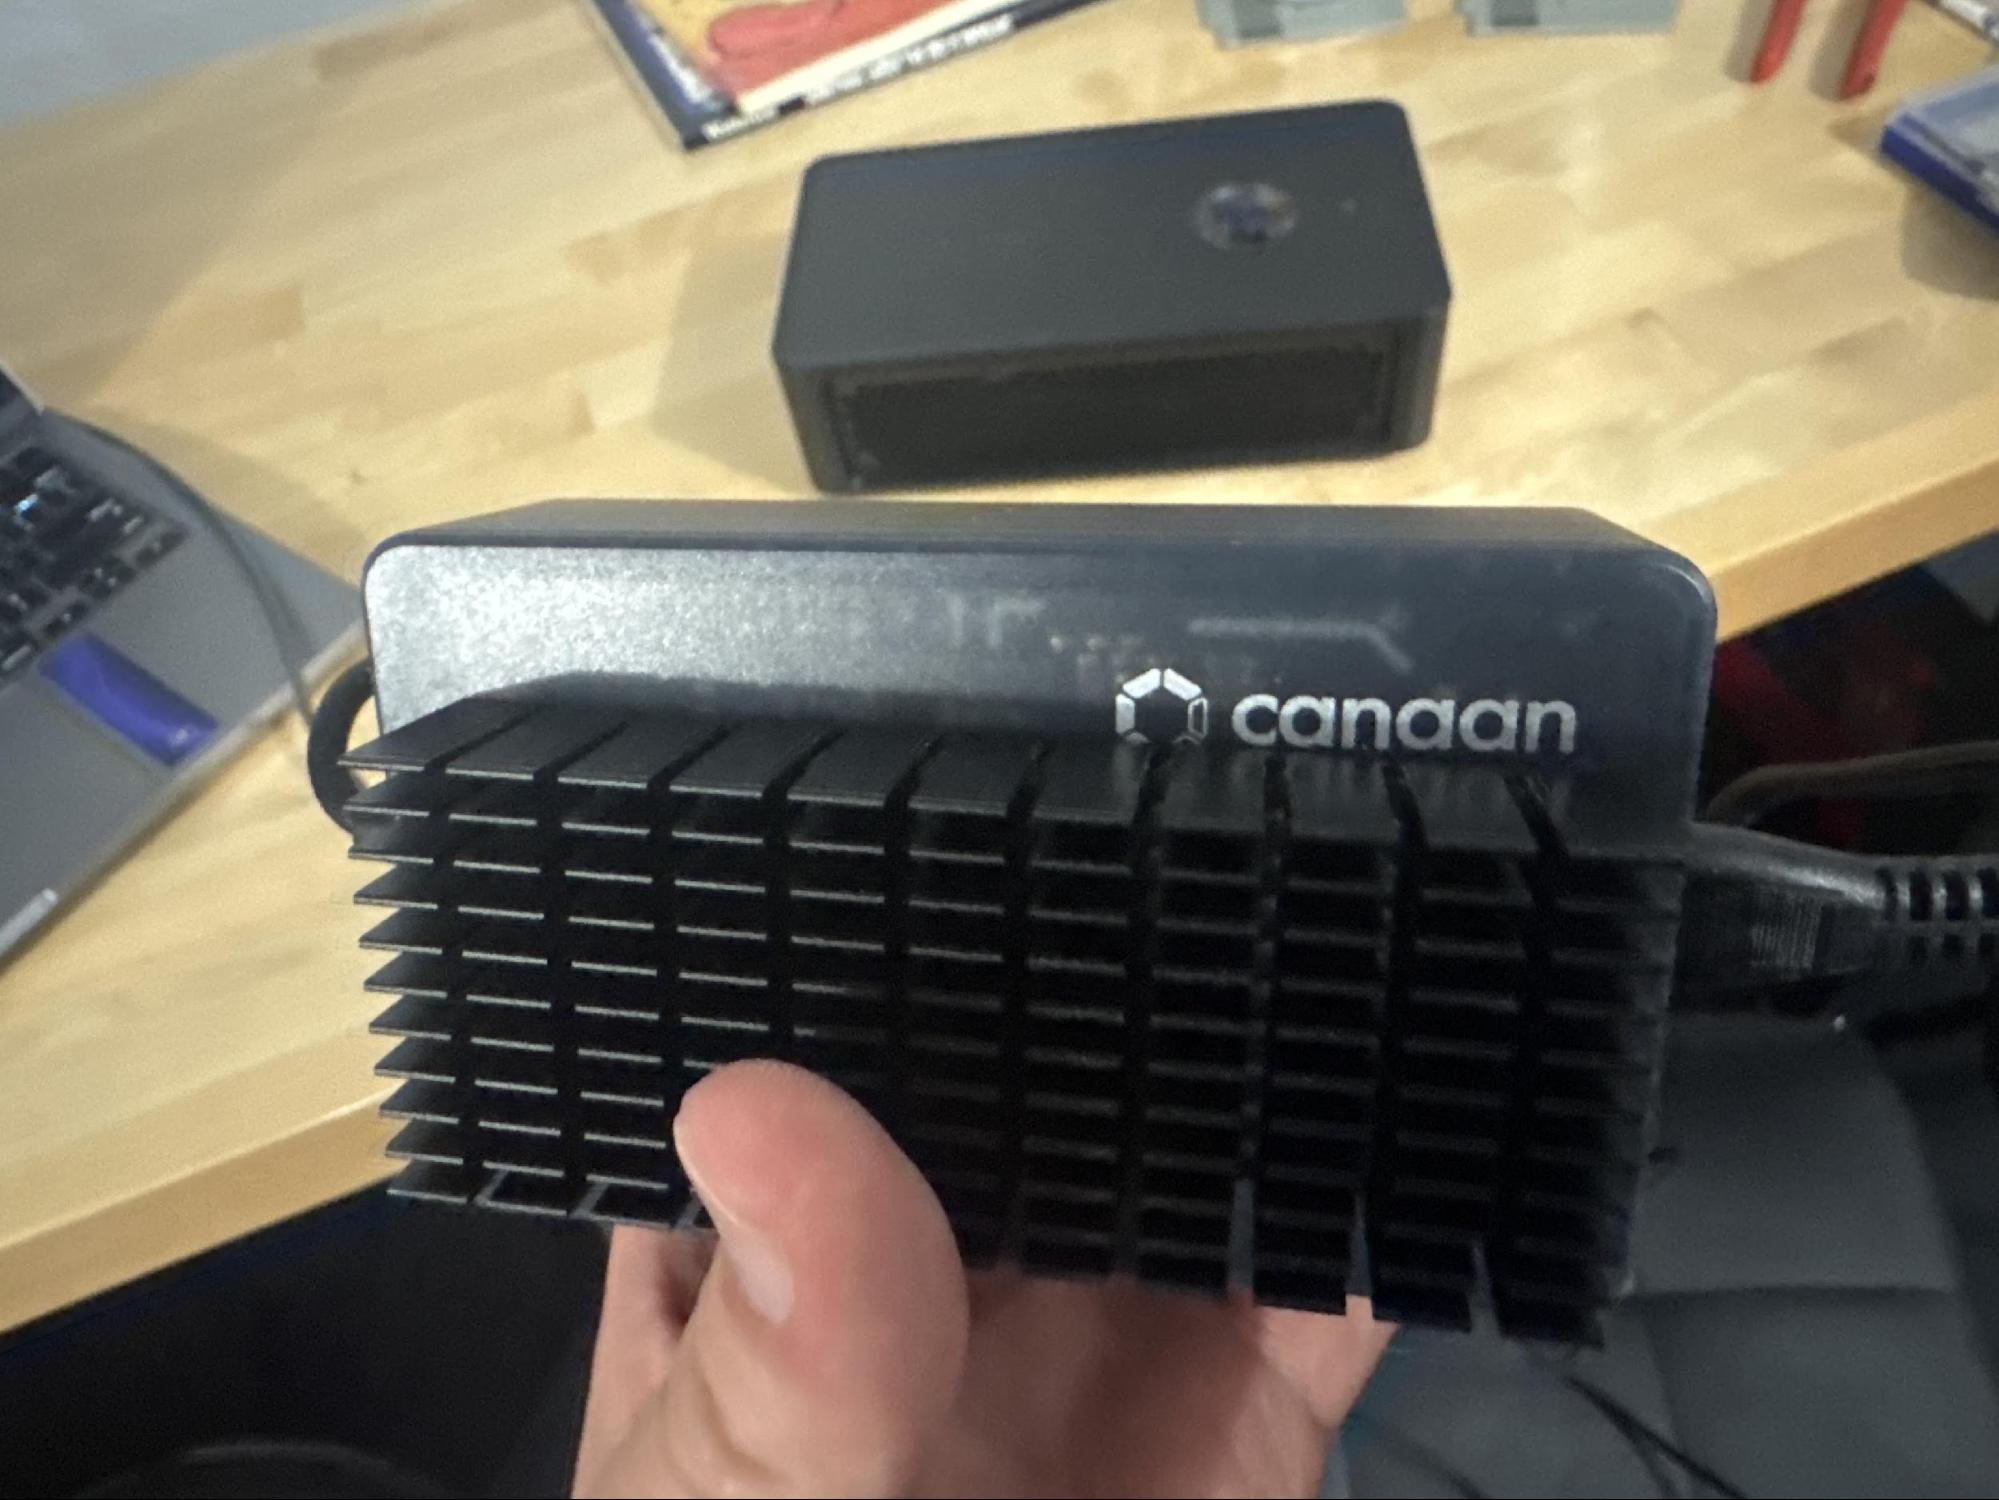
The Avalon Nano 3S is well-engineered for its price point. Canaan made this thing actually serviceable, which is more than you can say for some competitors. The whole unit comes apart with six screws on the bottom panel.
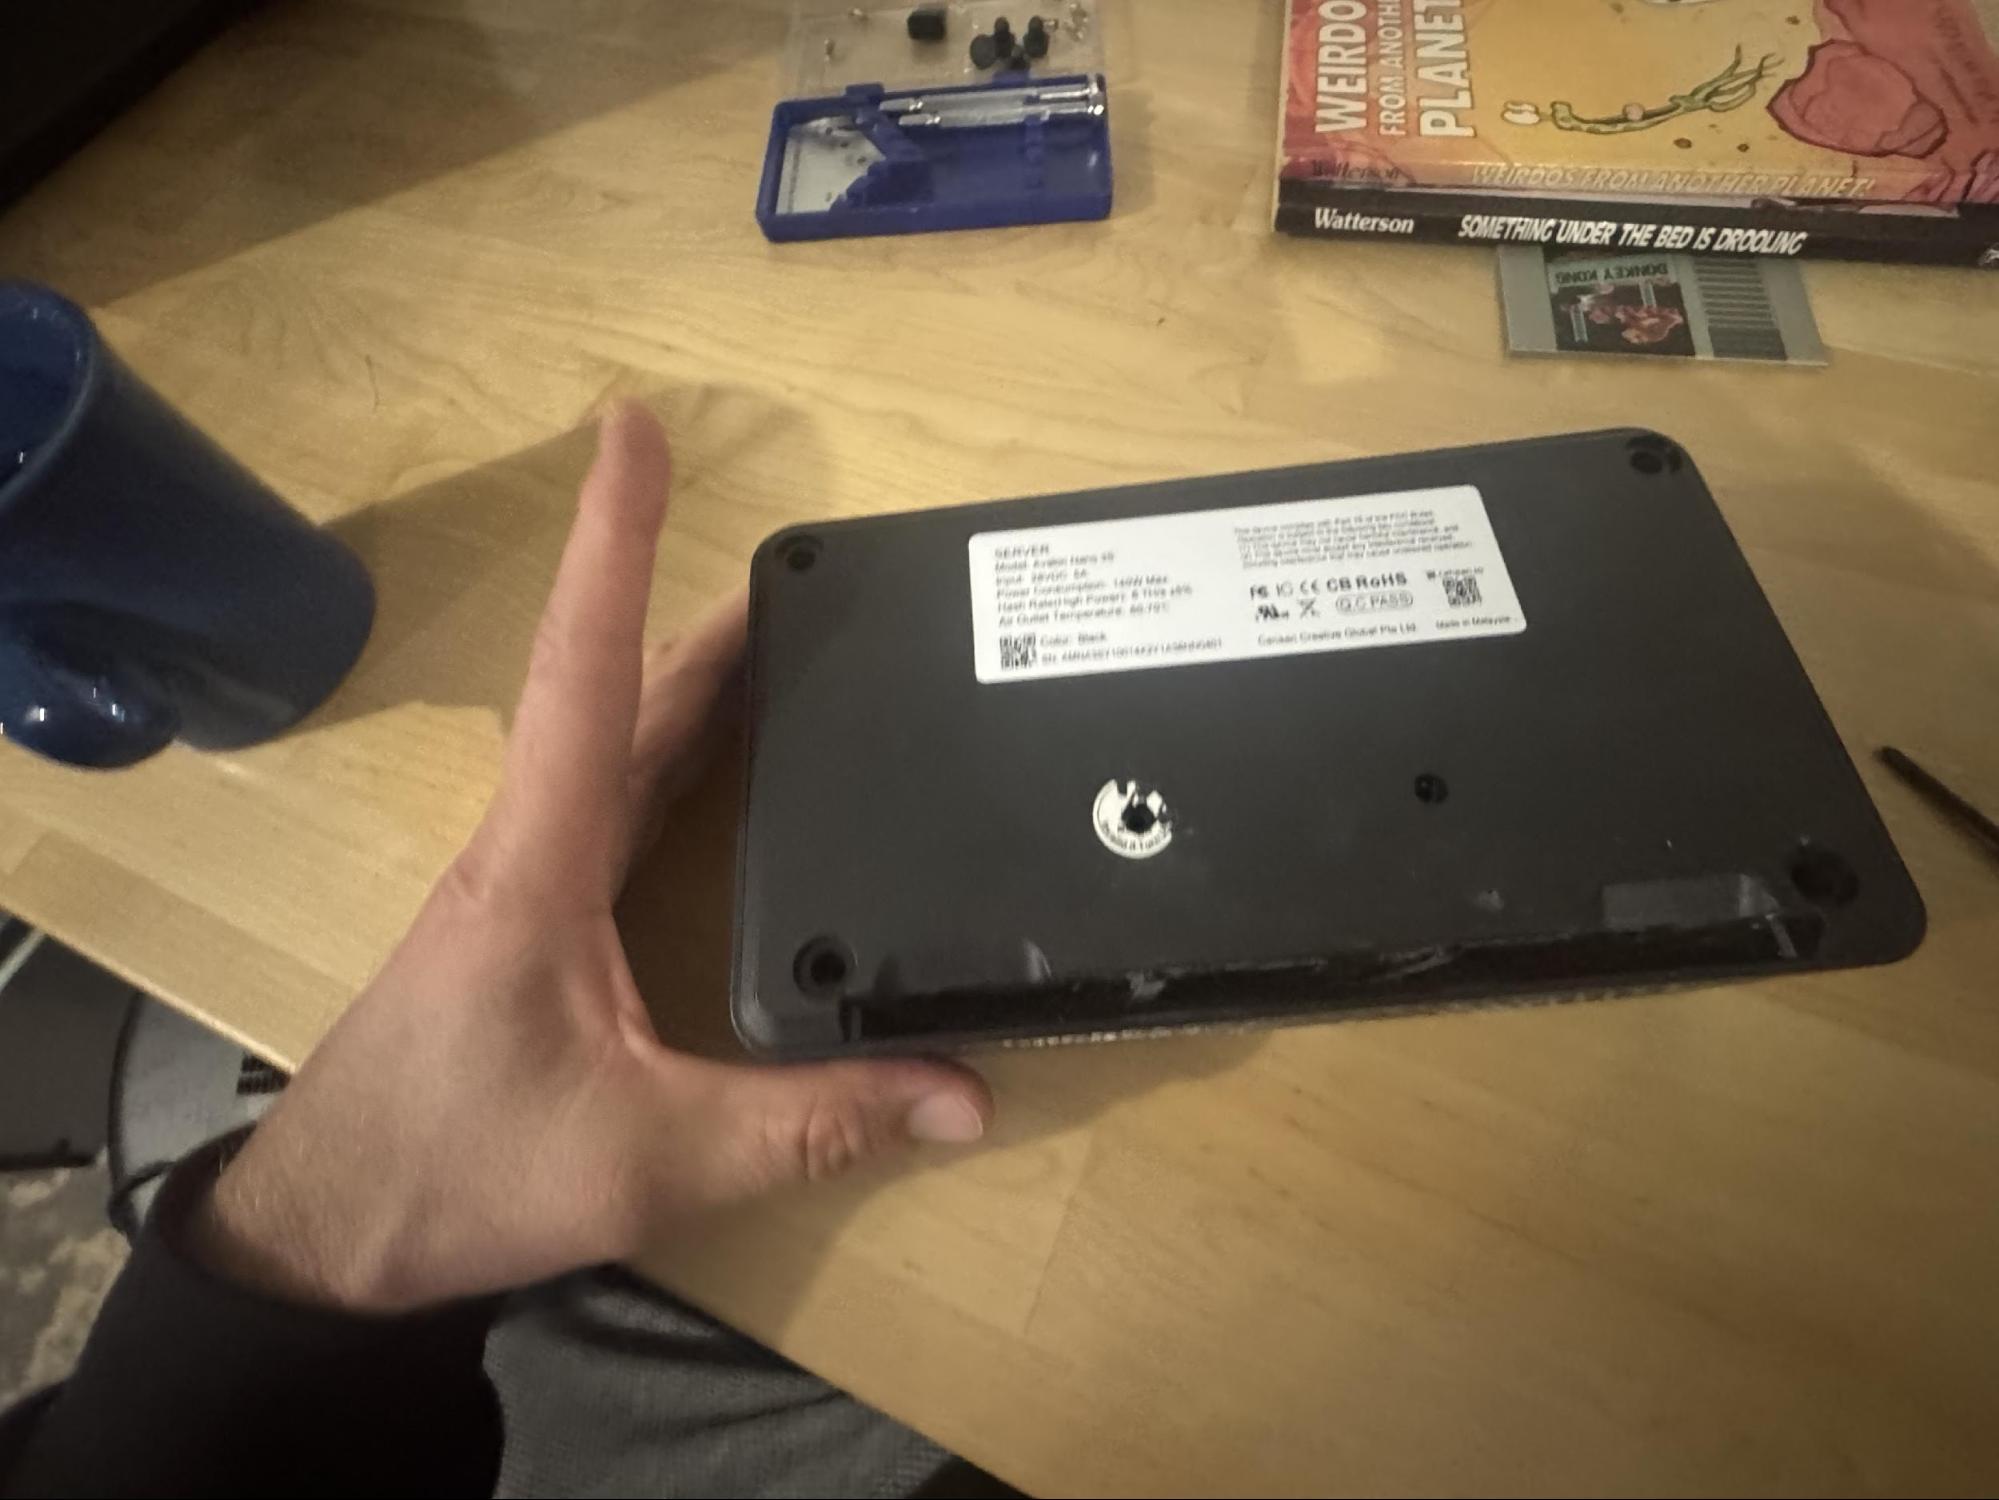
Begin by removing the wifi dongle and power cable. Place the unit upside down on a workbench and remove the two middle screws. One of the screws will be hidden under a sticker. You must destroy the sticker to access the screw and doing so voids your 1yr warranty. If you don't want to do that then stop and just blow as much dust out of the unit with the air can. If you are OK proceeding then proceed. Remove the screws completely and put them somewhere safe.
Next, remove the 4 rubber feet at the corners by prying them up using something like the little phillips screwdriver or a little flathead. The four corner screws can now be accessed and unscrewed. Note these screws are larger than the first two so don't mix them up during reassembly.
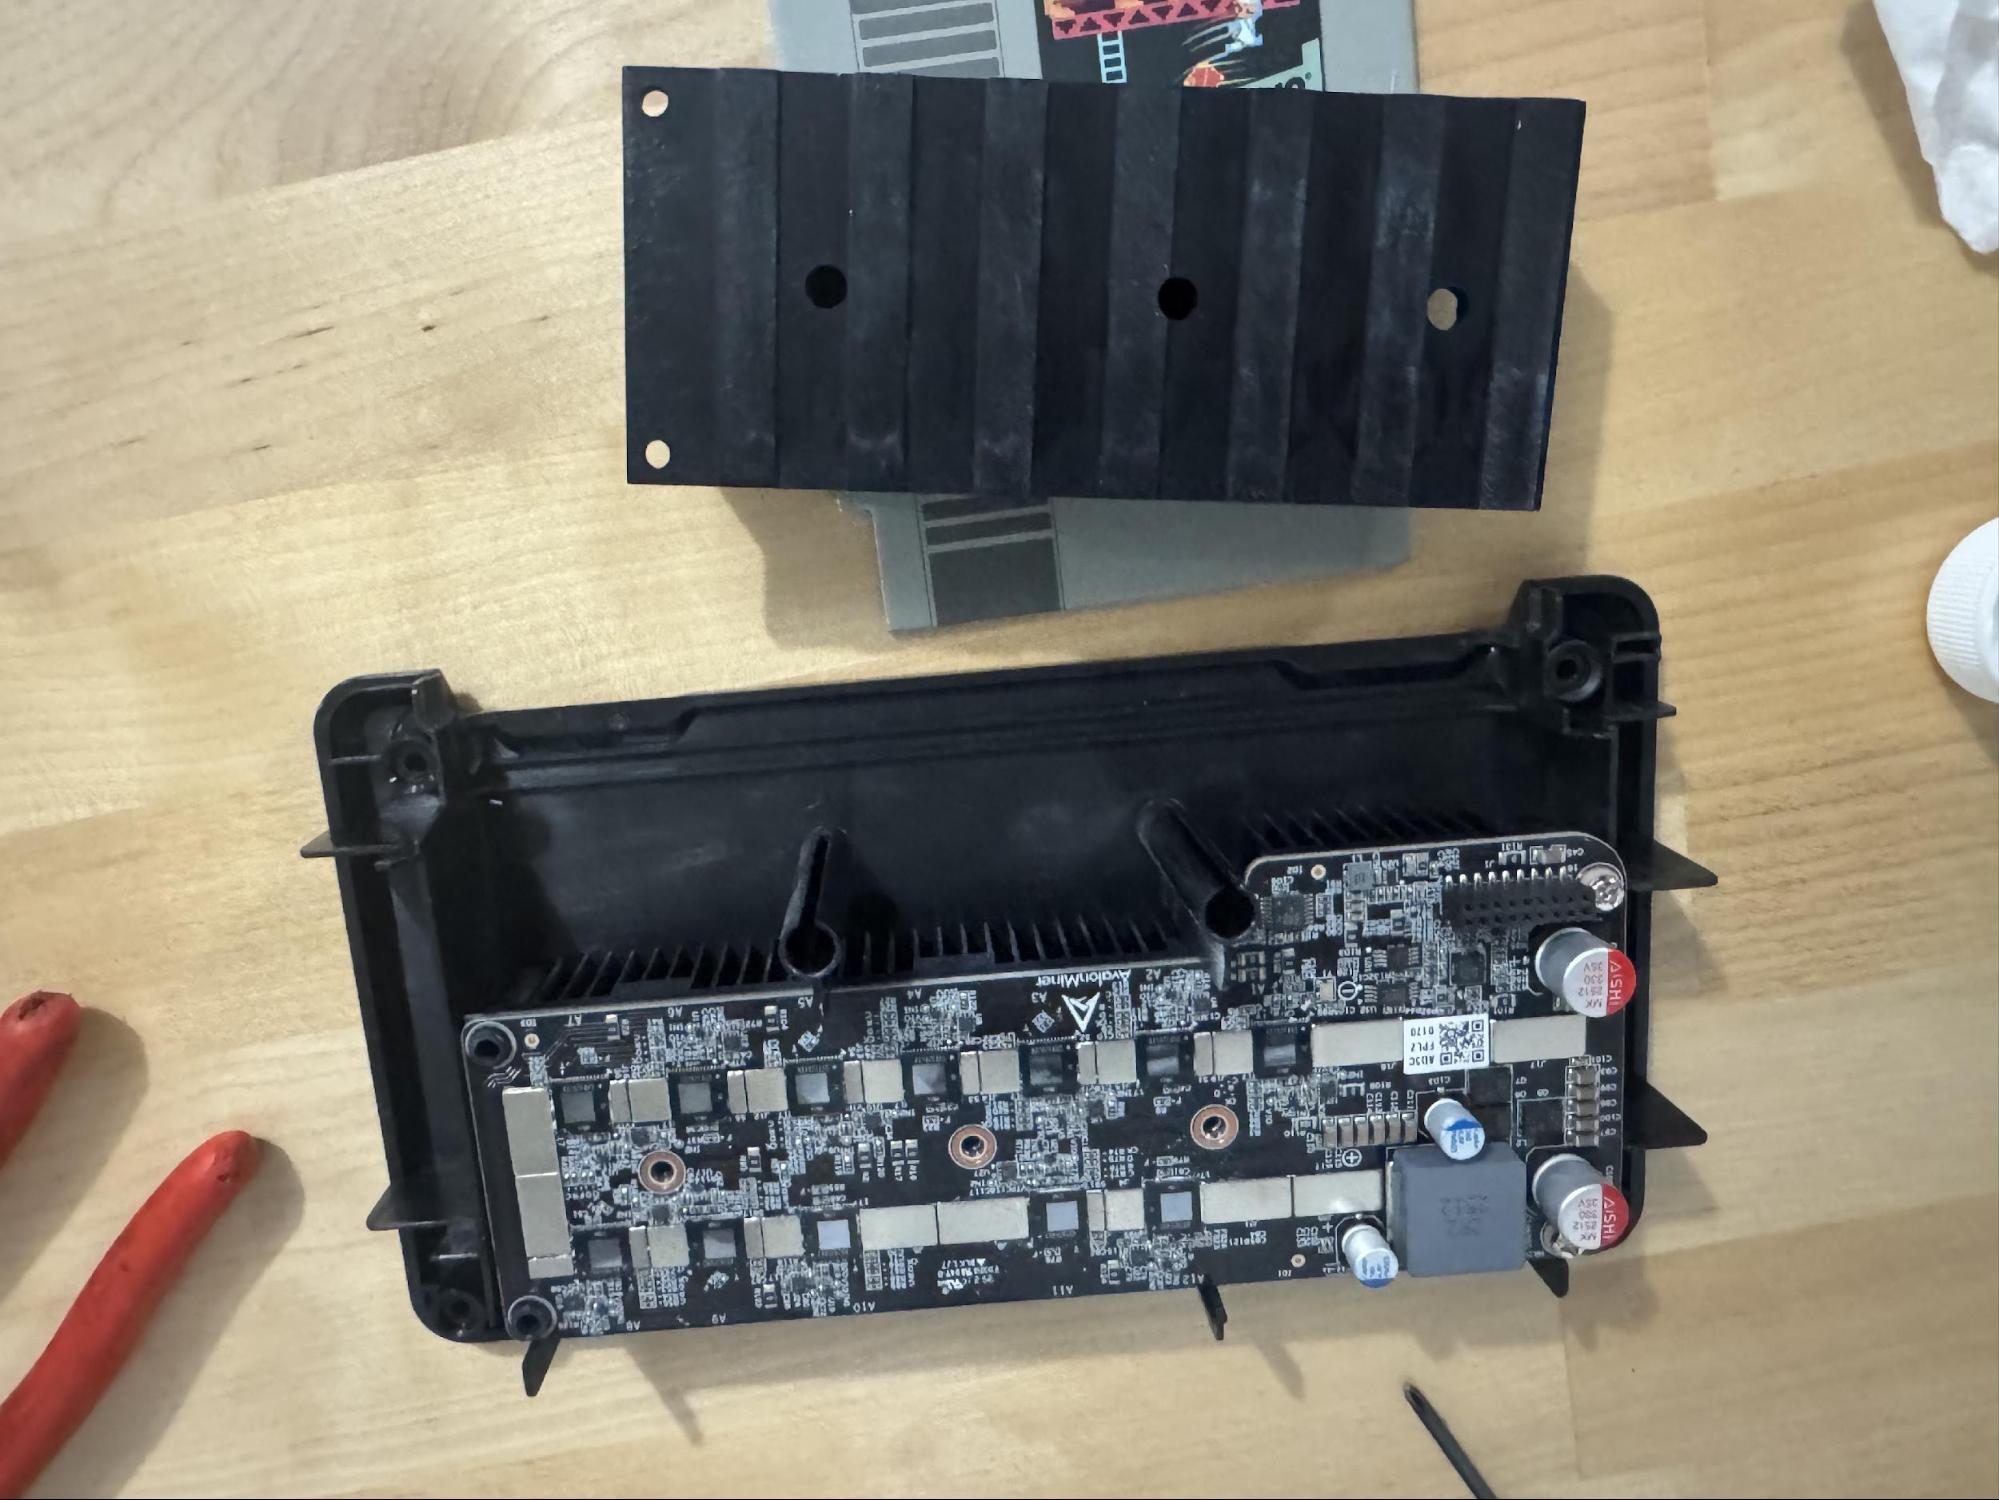
With the screws removed and the unit still upside down, the bottom panel can be gently popped up using your screwdriver then pulling the bottom panel straight up and off the rest of the way with your hands. With the unit split into two assemblies you will now see: the heatsink/ASIC module, the chassis shell housing the three cooling fans, and the control board.
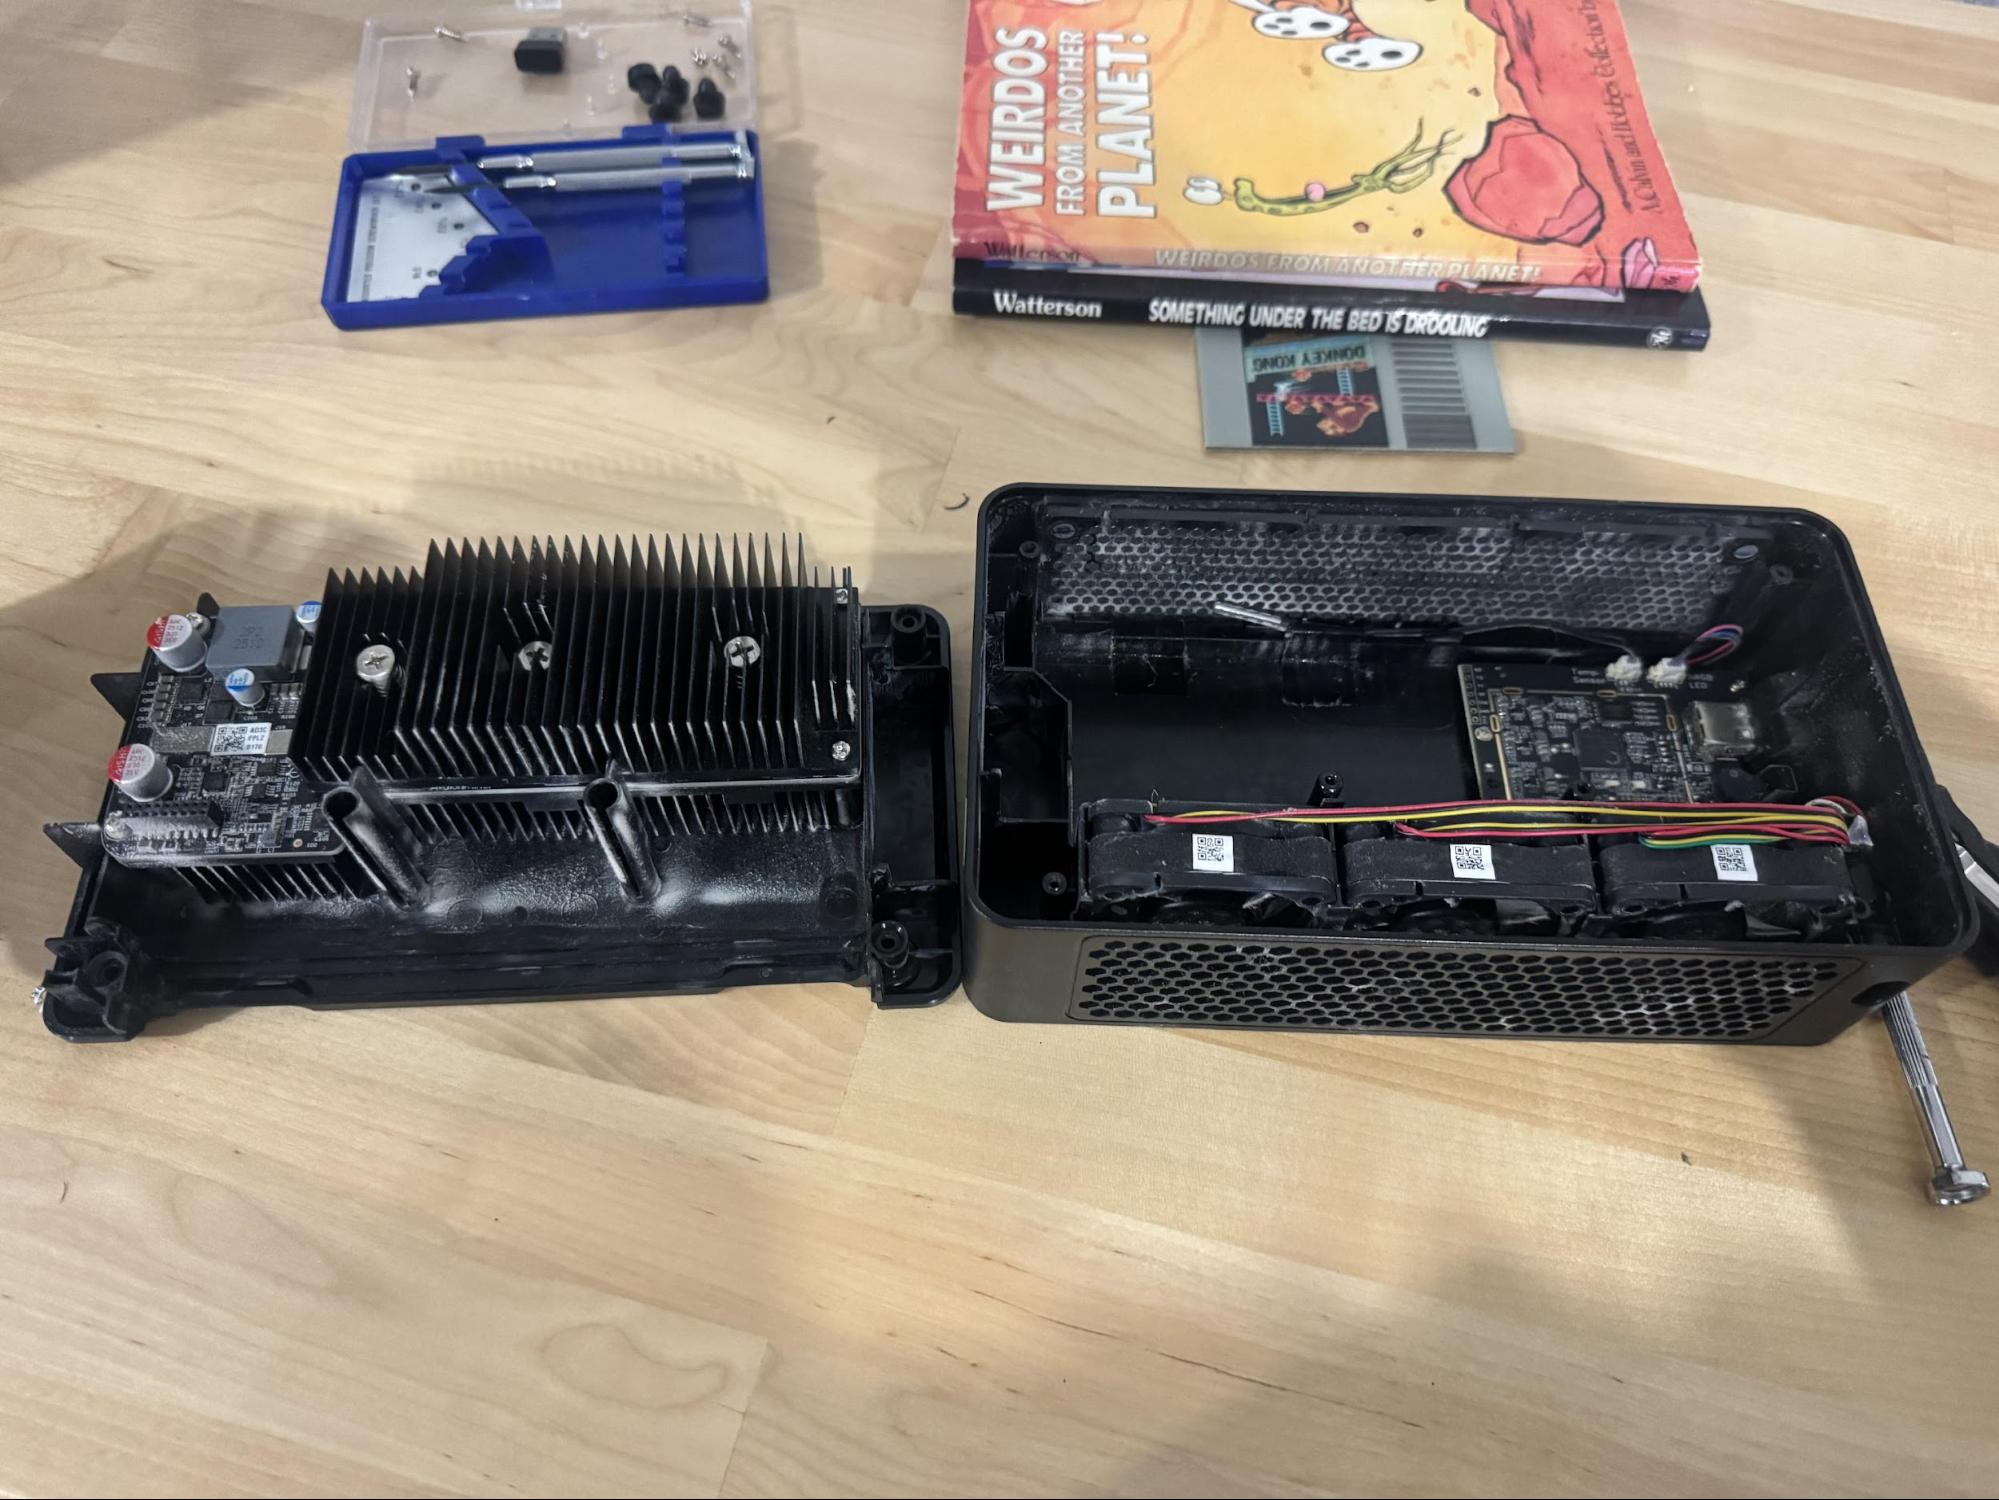
Separate the two halves carefully. There are no ribbon cables joining them, however there are male and female pins so don't be a brute — the hashboard module lifts out of the chassis cleanly when lifted straight up.
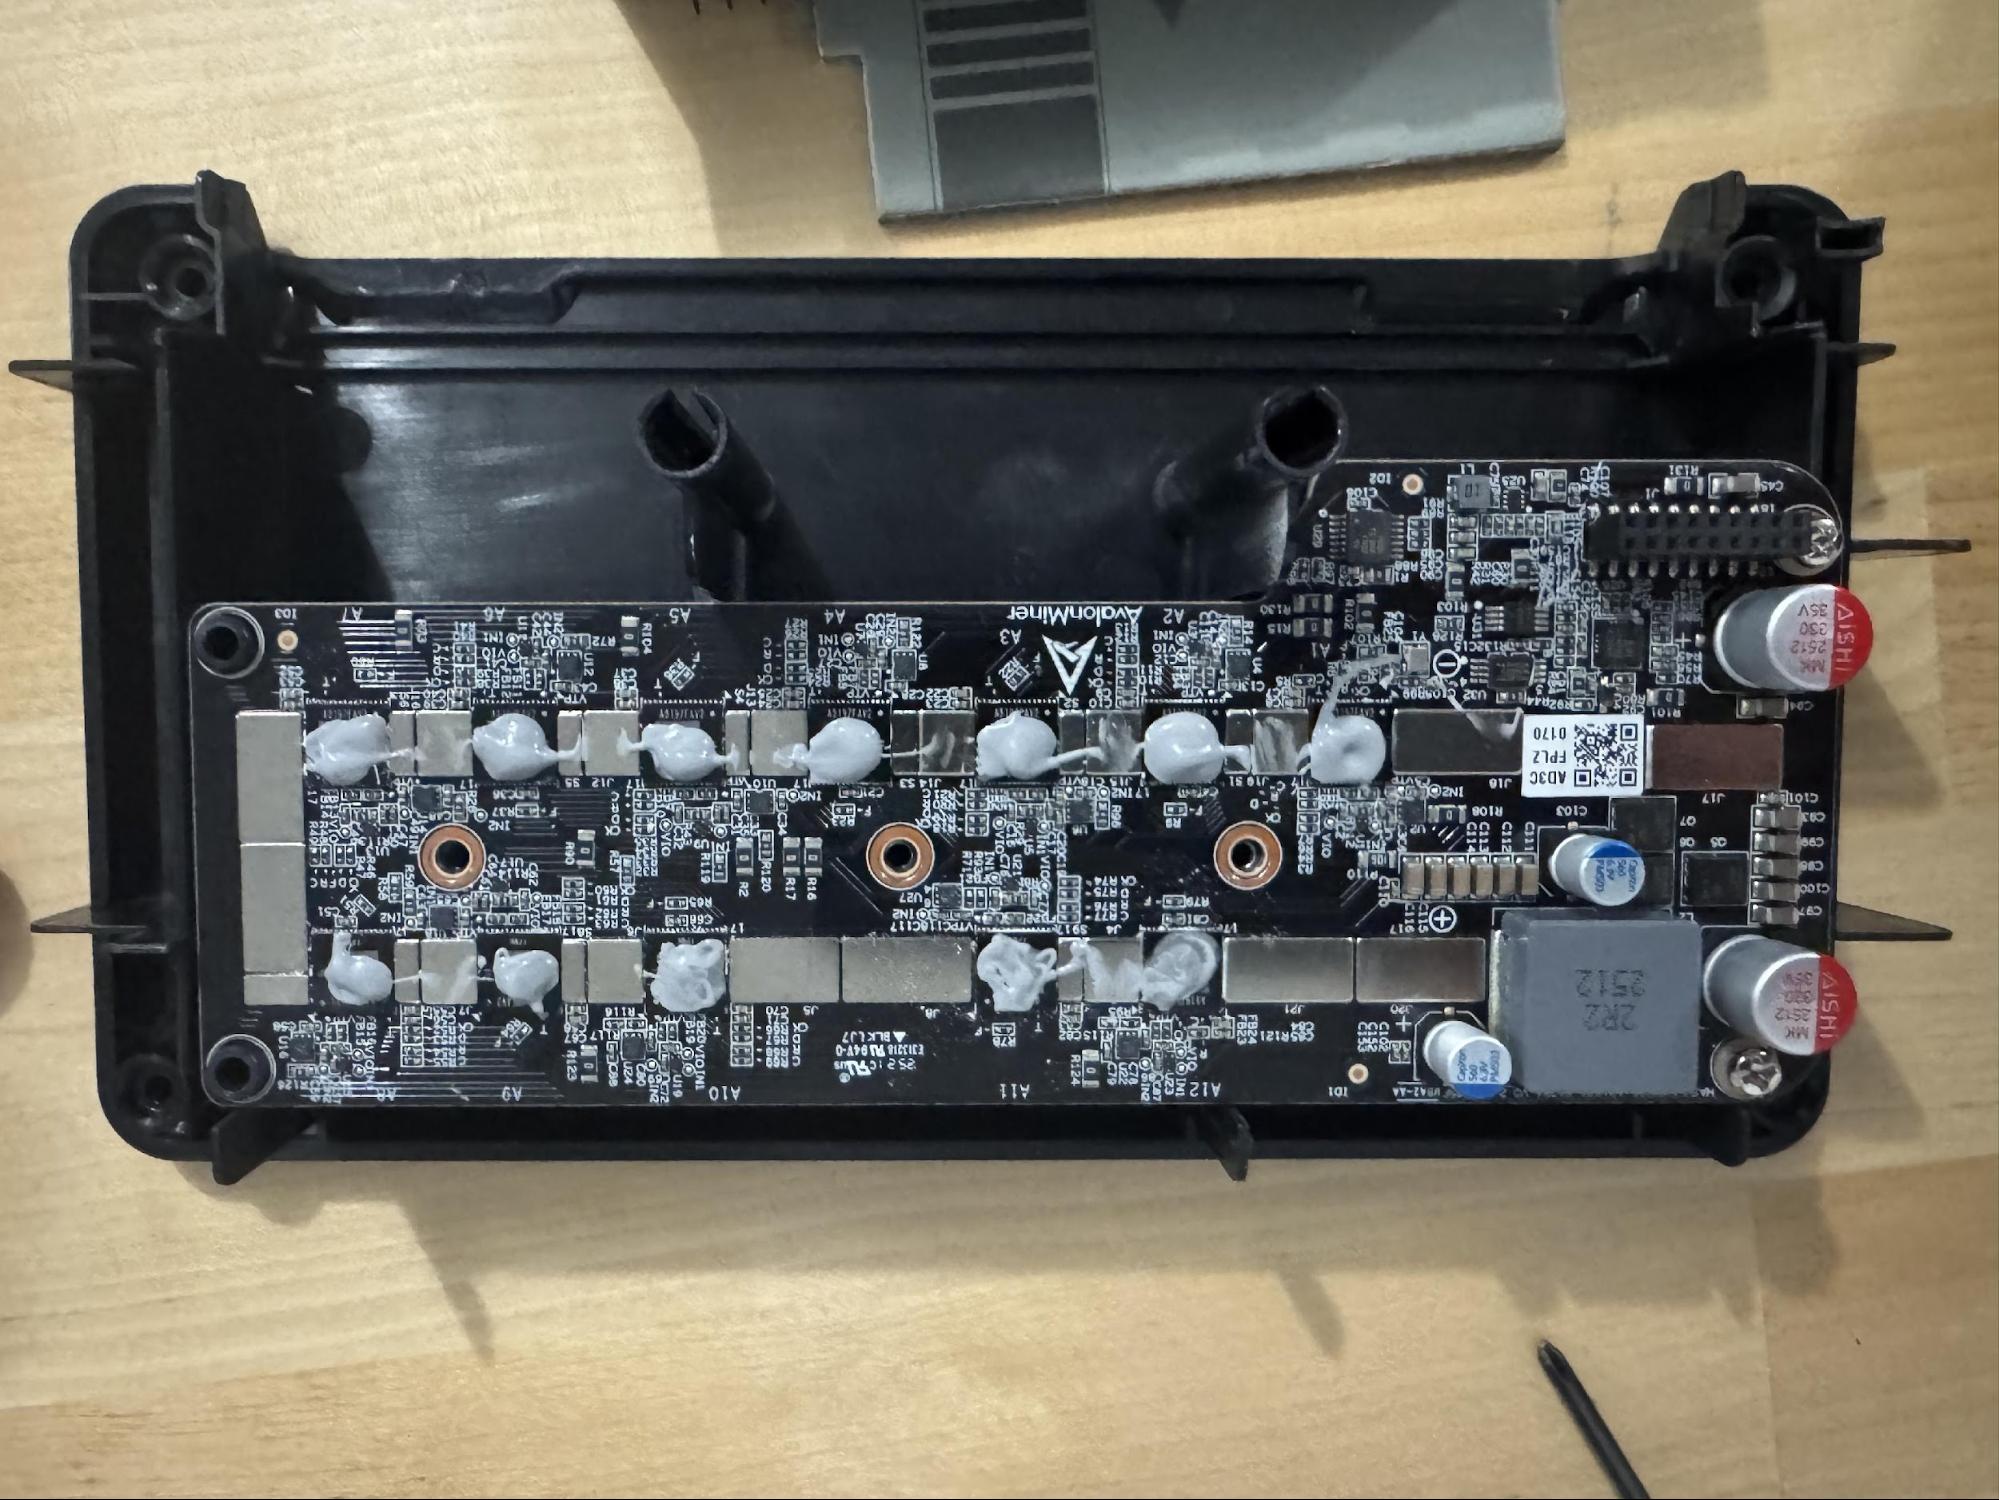
The Hashboard Up Close
With the heatsink module out, you can see the full AvalonMiner hashboard. This PCB runs two rows of 4nm ASIC chips labeled A1 through A12 with support circuitry, two AISHI capacitors, and the power management section. Fun fact, these are the same chips in the Avalon Q, the only difference is that the Q has 160 chips and the 3s has 12.
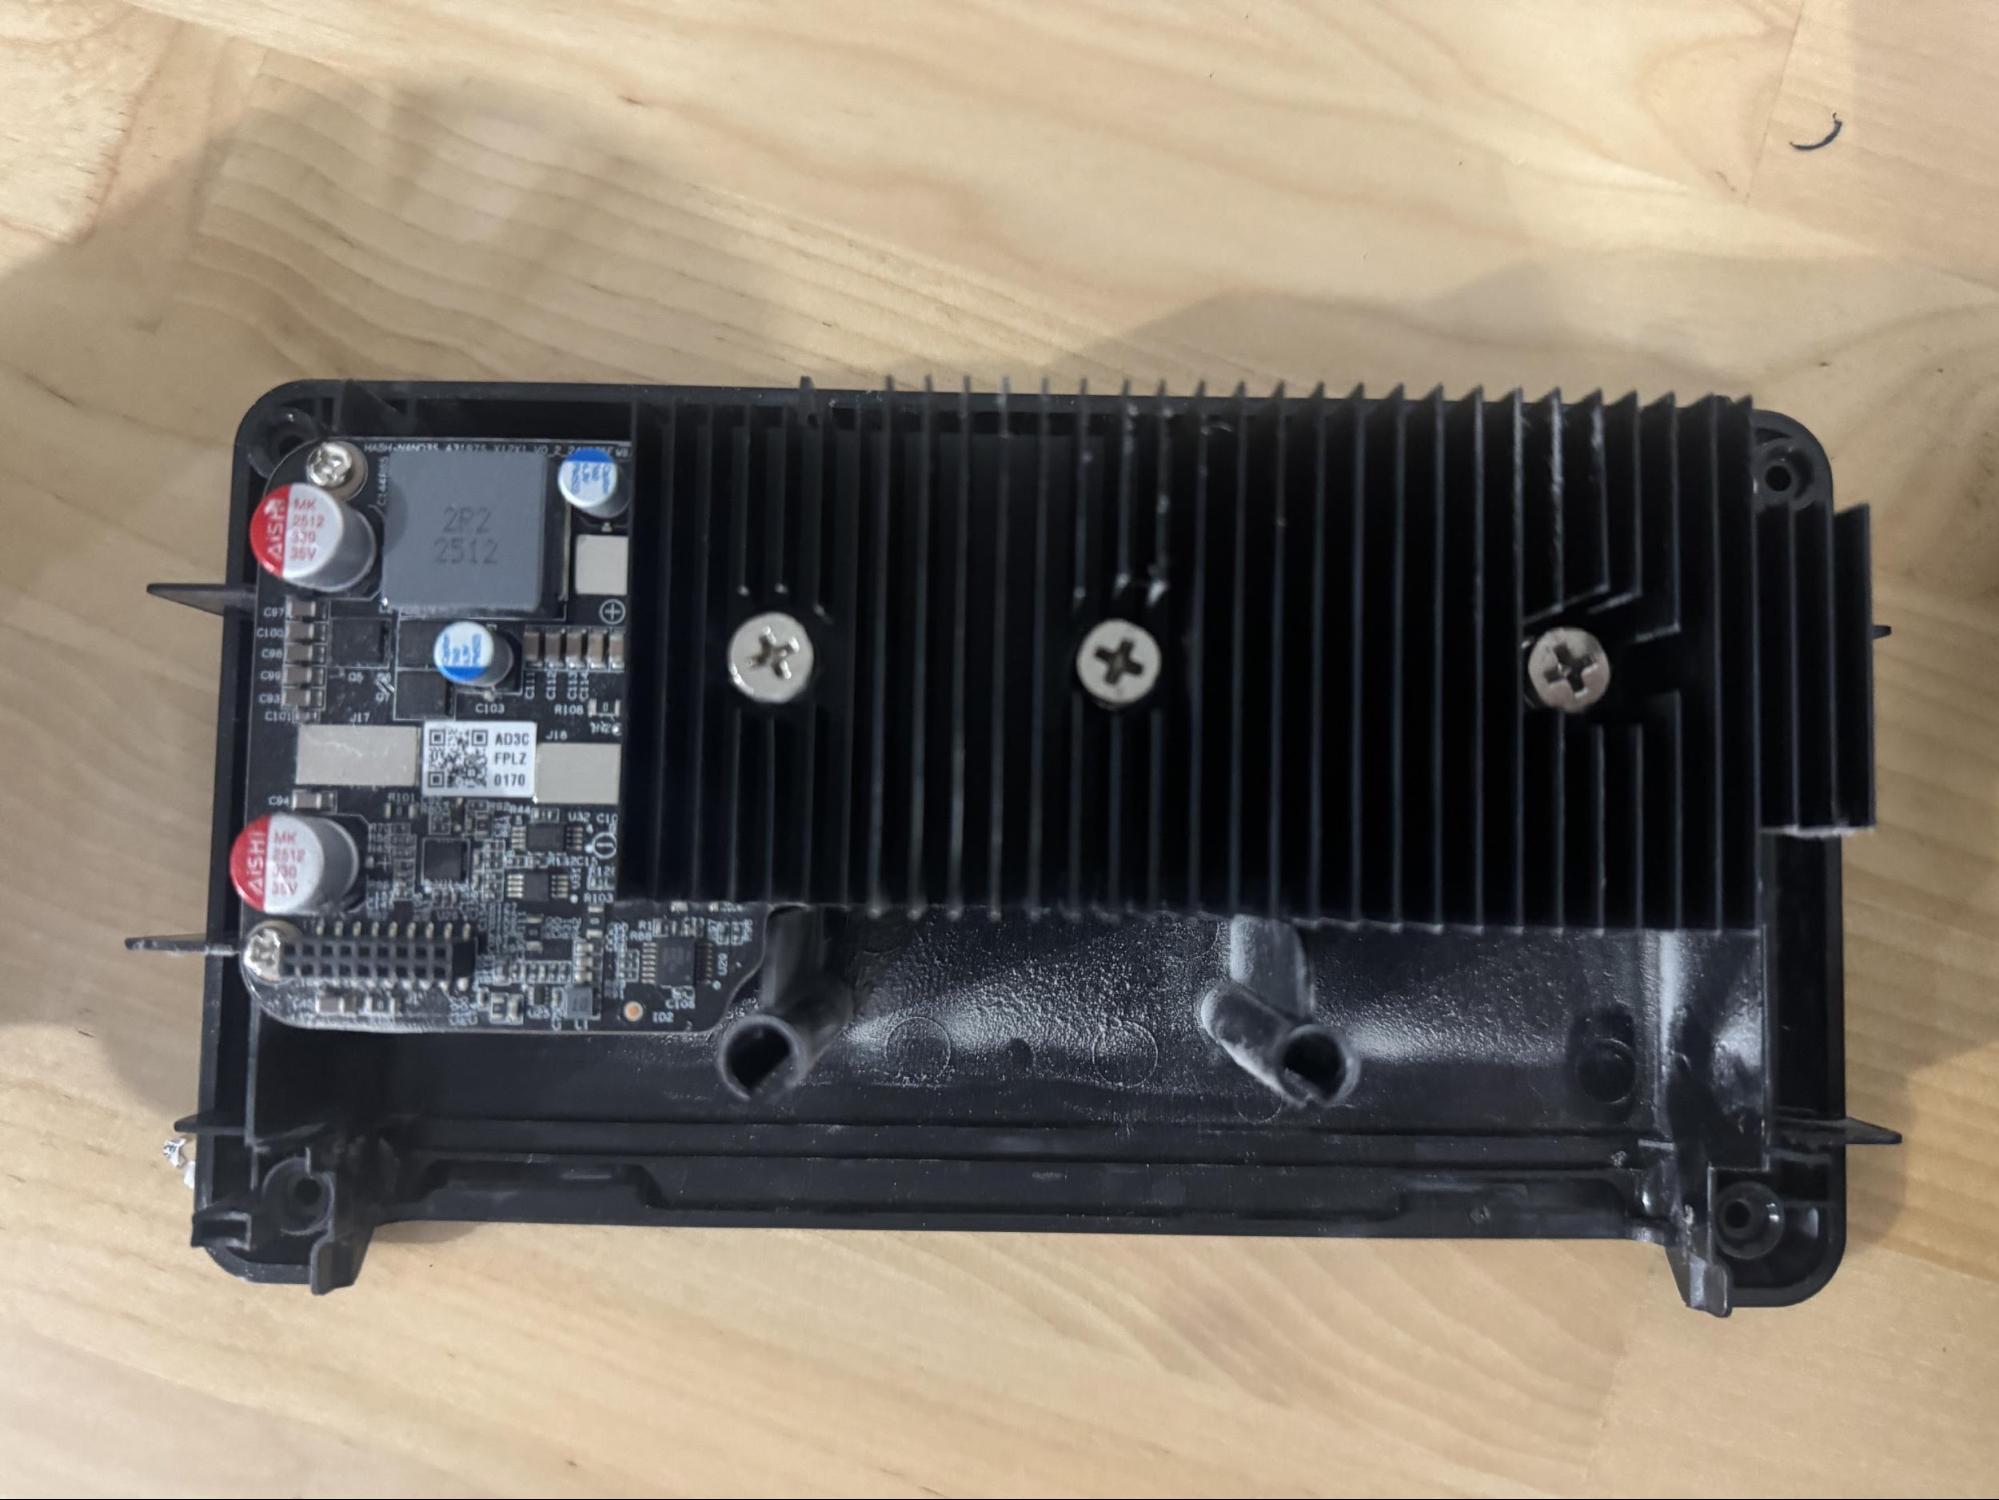
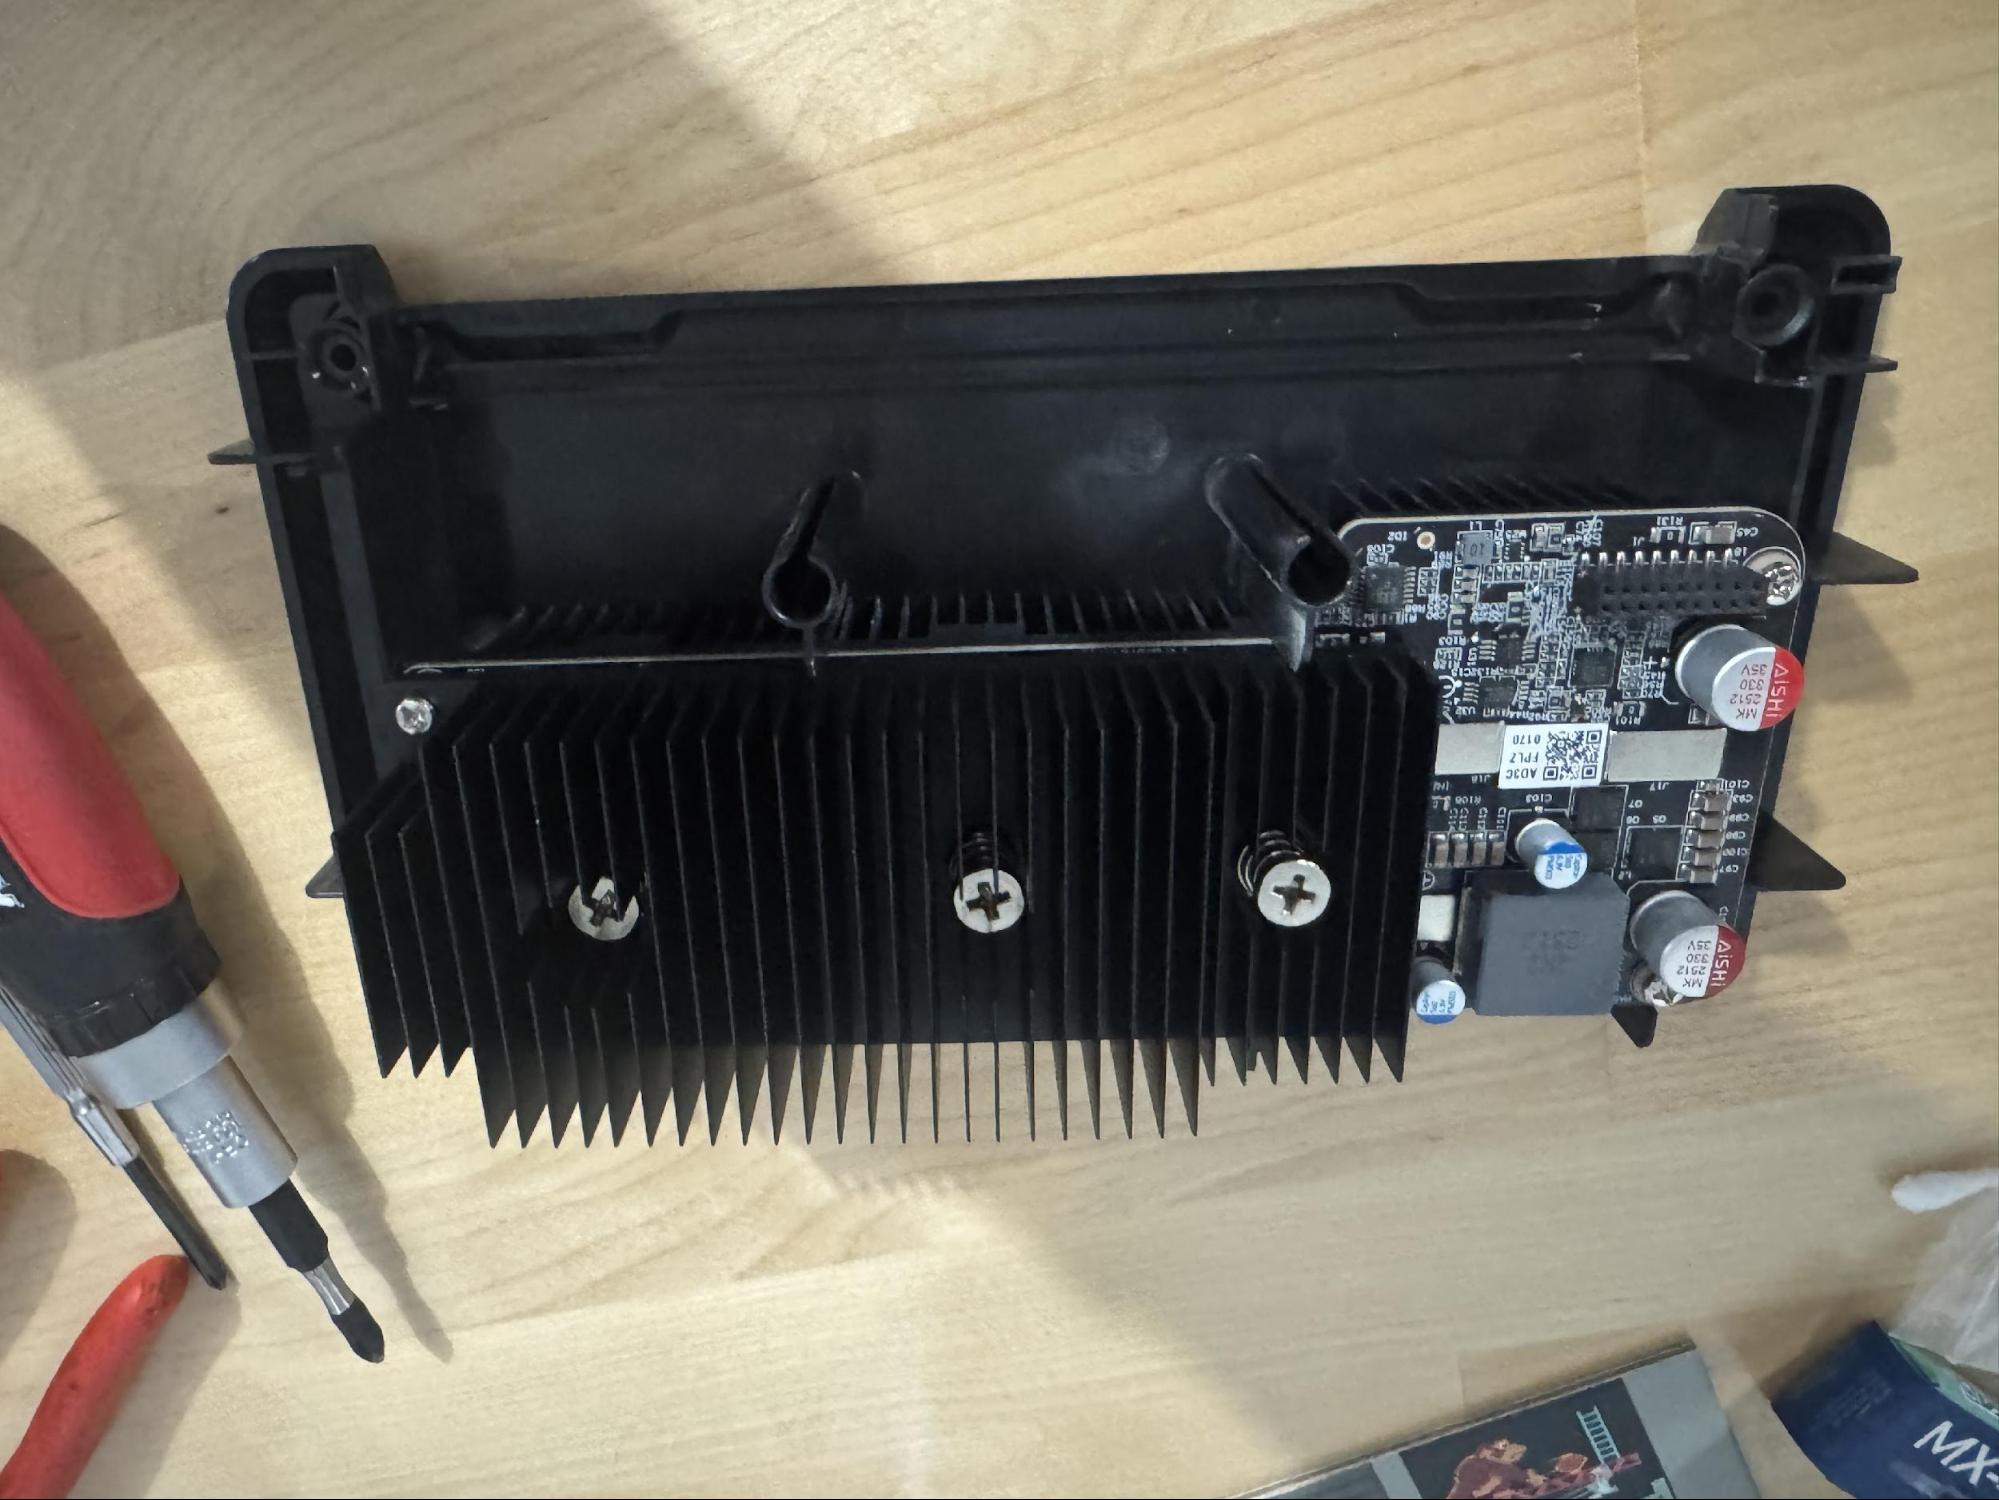
To remove the heatsink, unscrew the two alignment screws on the right end of the heatsink and then the three spring-loaded Phillips screws. These are spring-tensioned to help evenly secure the heatsink to the chips. Be careful taking these out, the springs will come off the screws and you don't want to lose them.
Cleaning Off the Old Paste
This is the most important step to do right. Old paste needs to come completely off both the heatsink contact surface and the ASIC chip surfaces. Any residue prevents new paste from making proper thermal contact.
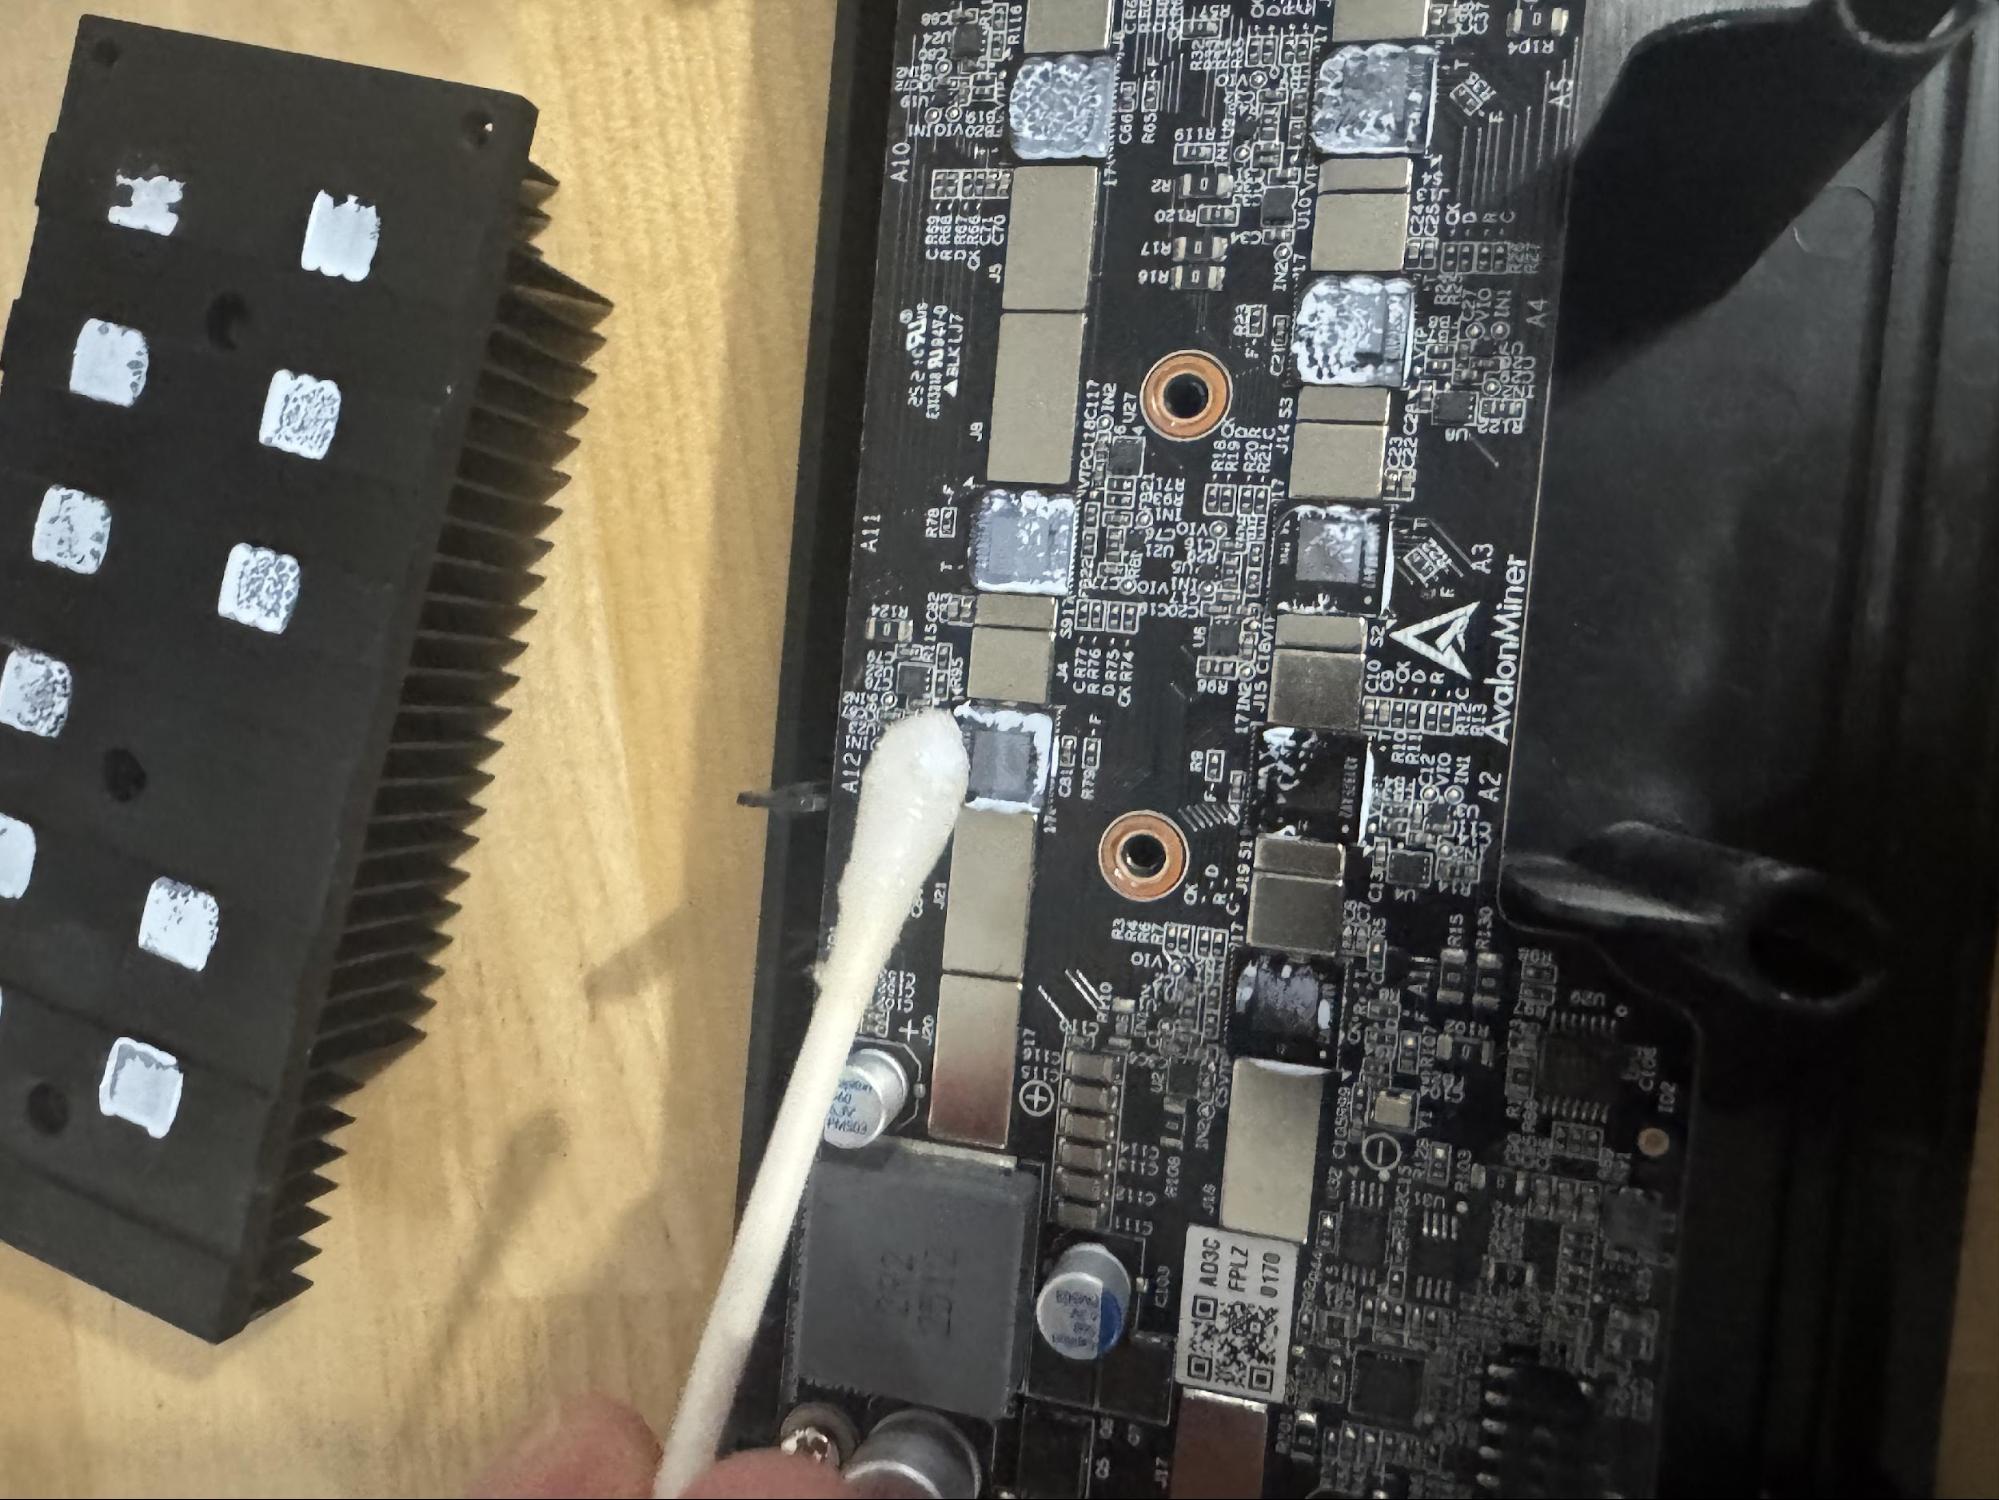
Clean all old paste and fan dust off completely. Use a paper towel dabbing away excess alcohol plus the canned air to remove any remaining particles, dust, and lint as well as to dry off any remaining alcohol. Everything needs to be clean and bone dry to ensure the new thermal paste sticks.
💡 Pro tip: Check the board under good light after cleaning. What you're looking for is no paste residue remaining on the die surfaces — chips should look uniformly clean with no white or grey patches.
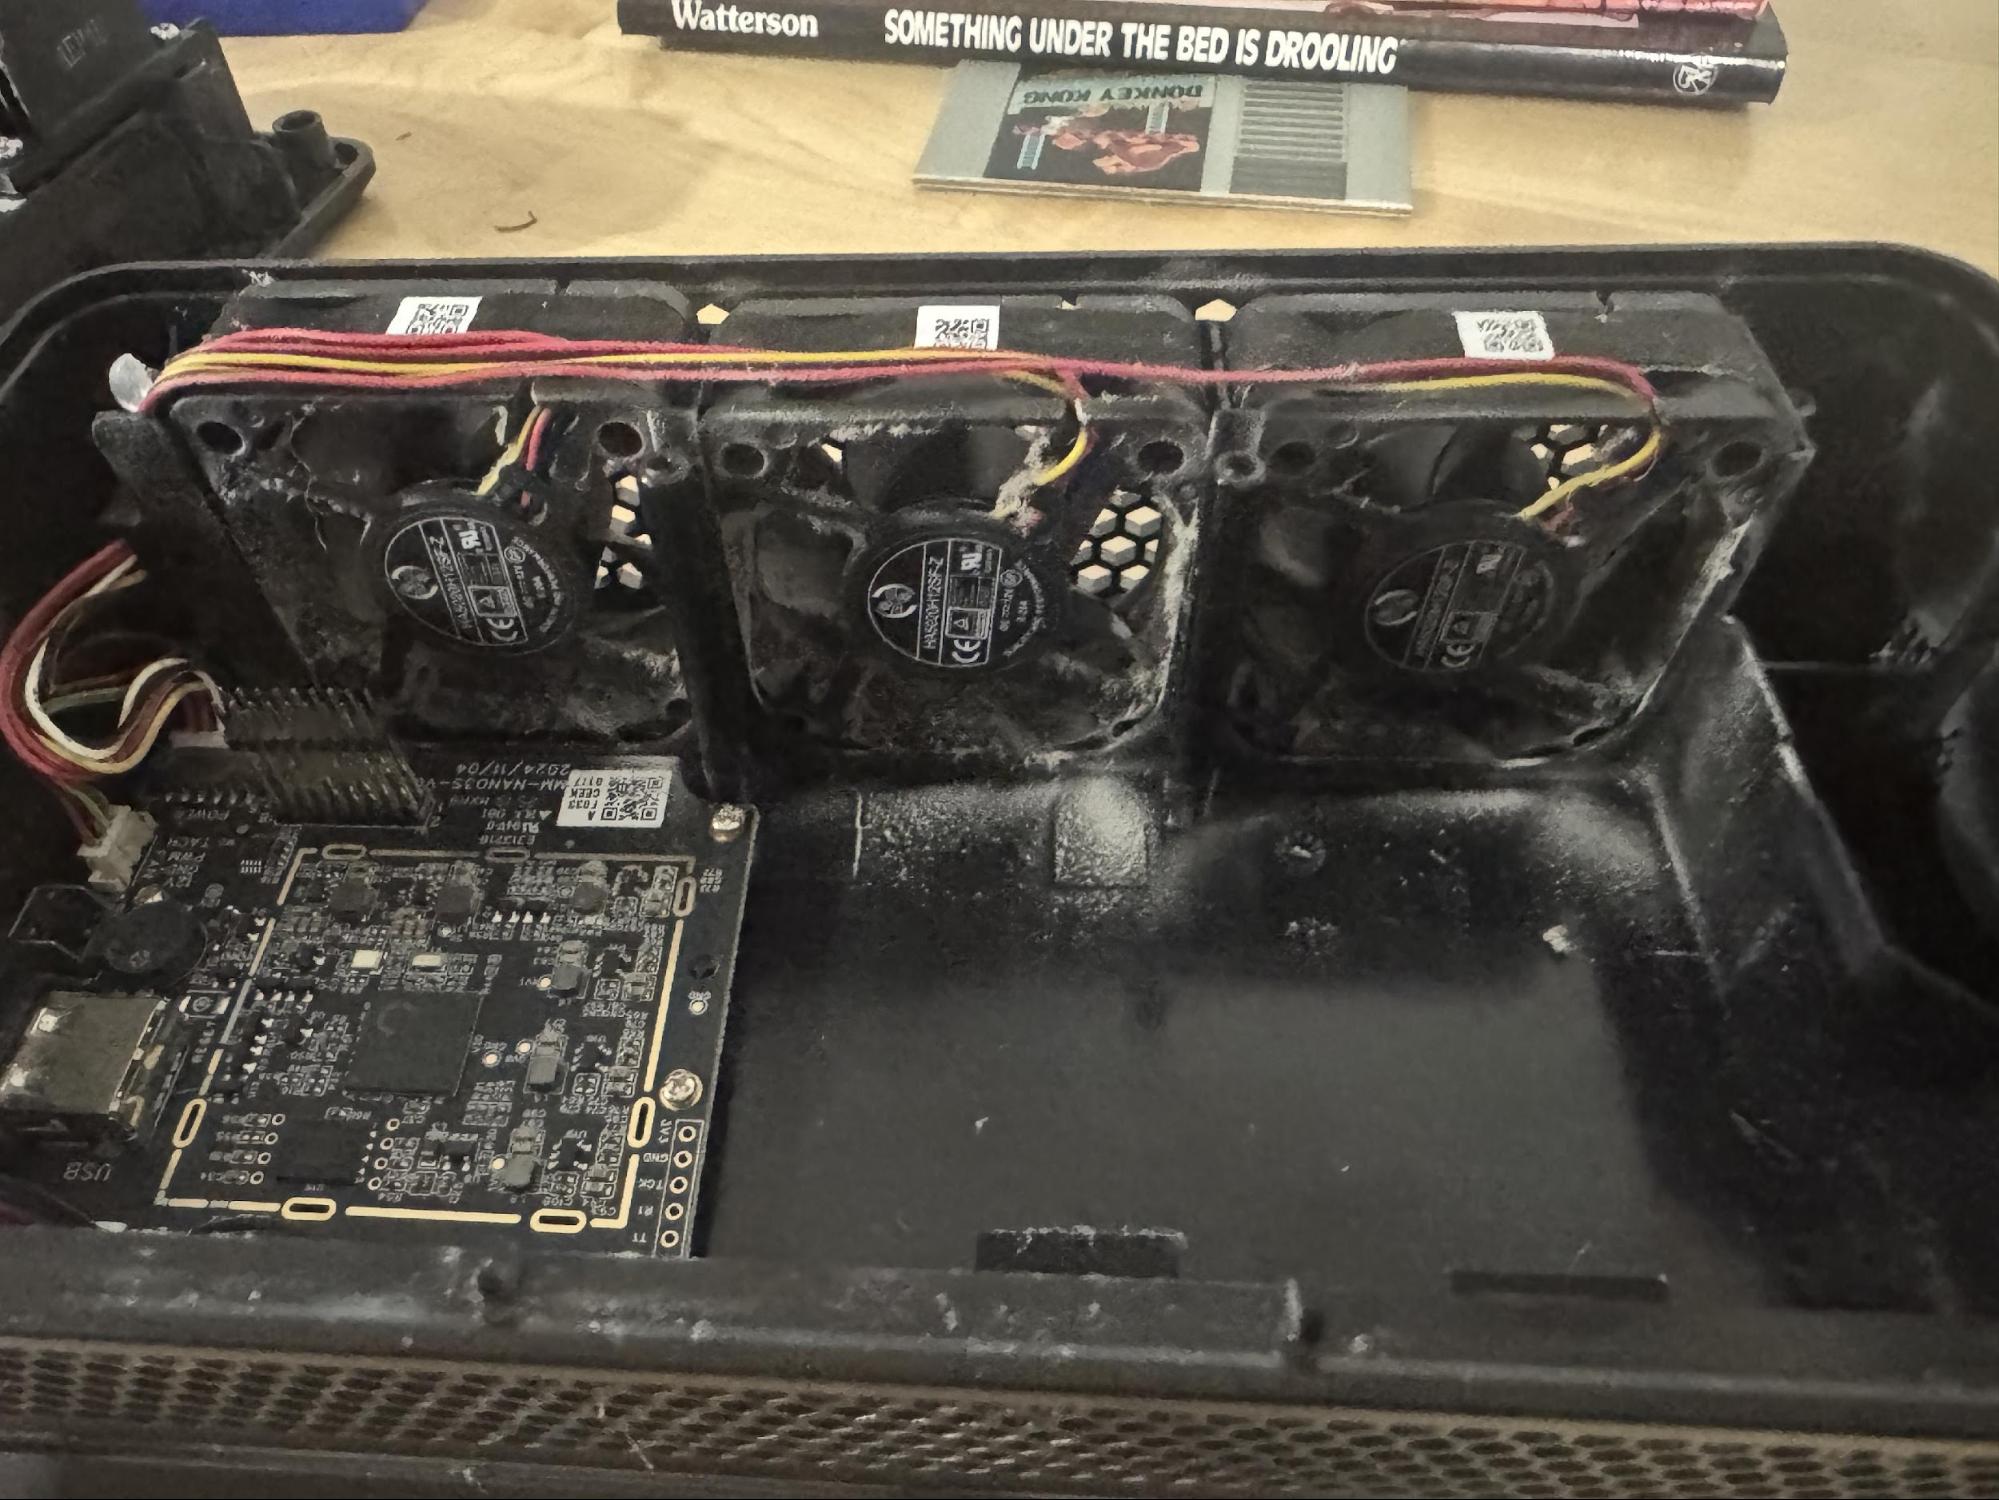
Don't Forget the Fans
While everything is apart, take a look at the fans. On a unit running for months, they'll have a visible coating of dust and debris on the blades and housing. Clogged fans move less air resulting in higher temps regardless of how good your paste is.
Applying Fresh Paste
With everything clean and dry, apply fresh paste. The ASIC dies on the Avalon Nano 3S are small square chips — you're not covering a large IHS like on a desktop CPU. Use a conservative amount per chip.
A small dot centered on each chip is all you need. When the heatsink is torqued back down with the spring-loaded screws, pressure spreads the paste across the die. No need to pre-spread it. Over-applying creates more mess than benefit.
Reassembly
Reinstall the heatsink by slowly lowering it straight down on the chips, aligning the two mounting holes on the left side of the heatsink (you can see one in the top left of my pic) which will ensure the three spring loaded screw holes are aligned. Don't tighten any of them till you have started threading all 5. Tighten in a cross pattern — don't fully tighten one before the others are started. Even pressure ensures uniform paste spread.
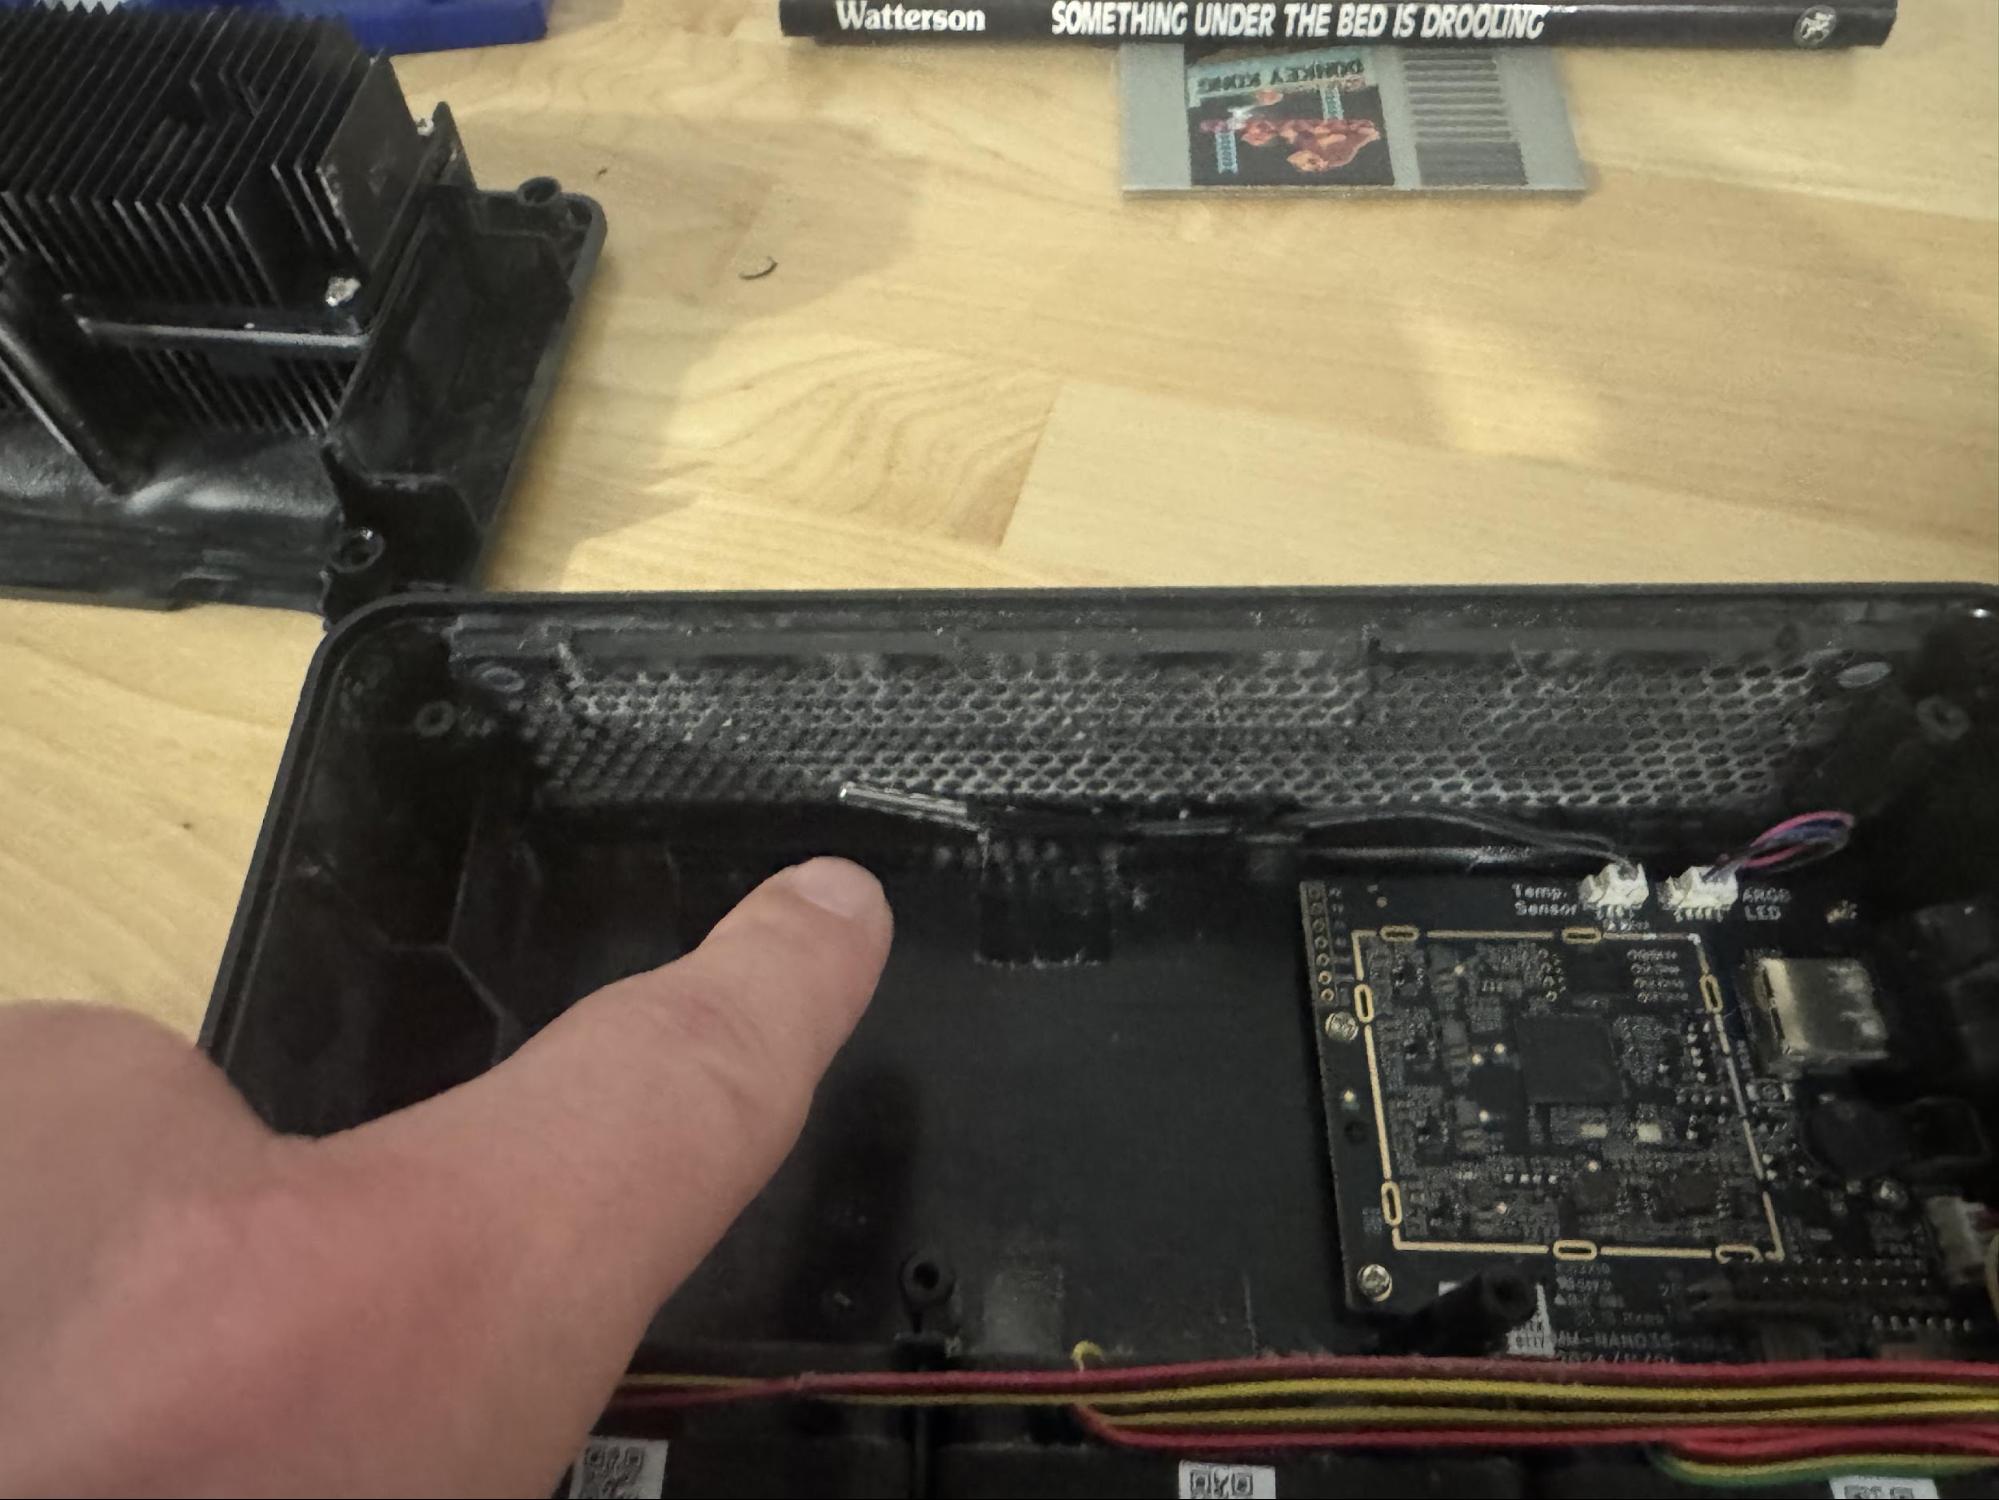
Note the two plastic tubes. Those will guide the two halves back together and ensure the 18 pins find their home without getting bent. This is the last step before sealing the halves together. Make sure everything is nice and clean.
Slide the hashboard module back into the chassis, making sure it seats fully into the plastic retention tabs. Route the fan cables clear of any moving parts along the edge of the chassis as from the factory. Reinstall the screws reverse of disassembly. Don't overtorque — the plastic bosses strip easily. Snug is enough.
Clean Clean Clean!
Fire It Up
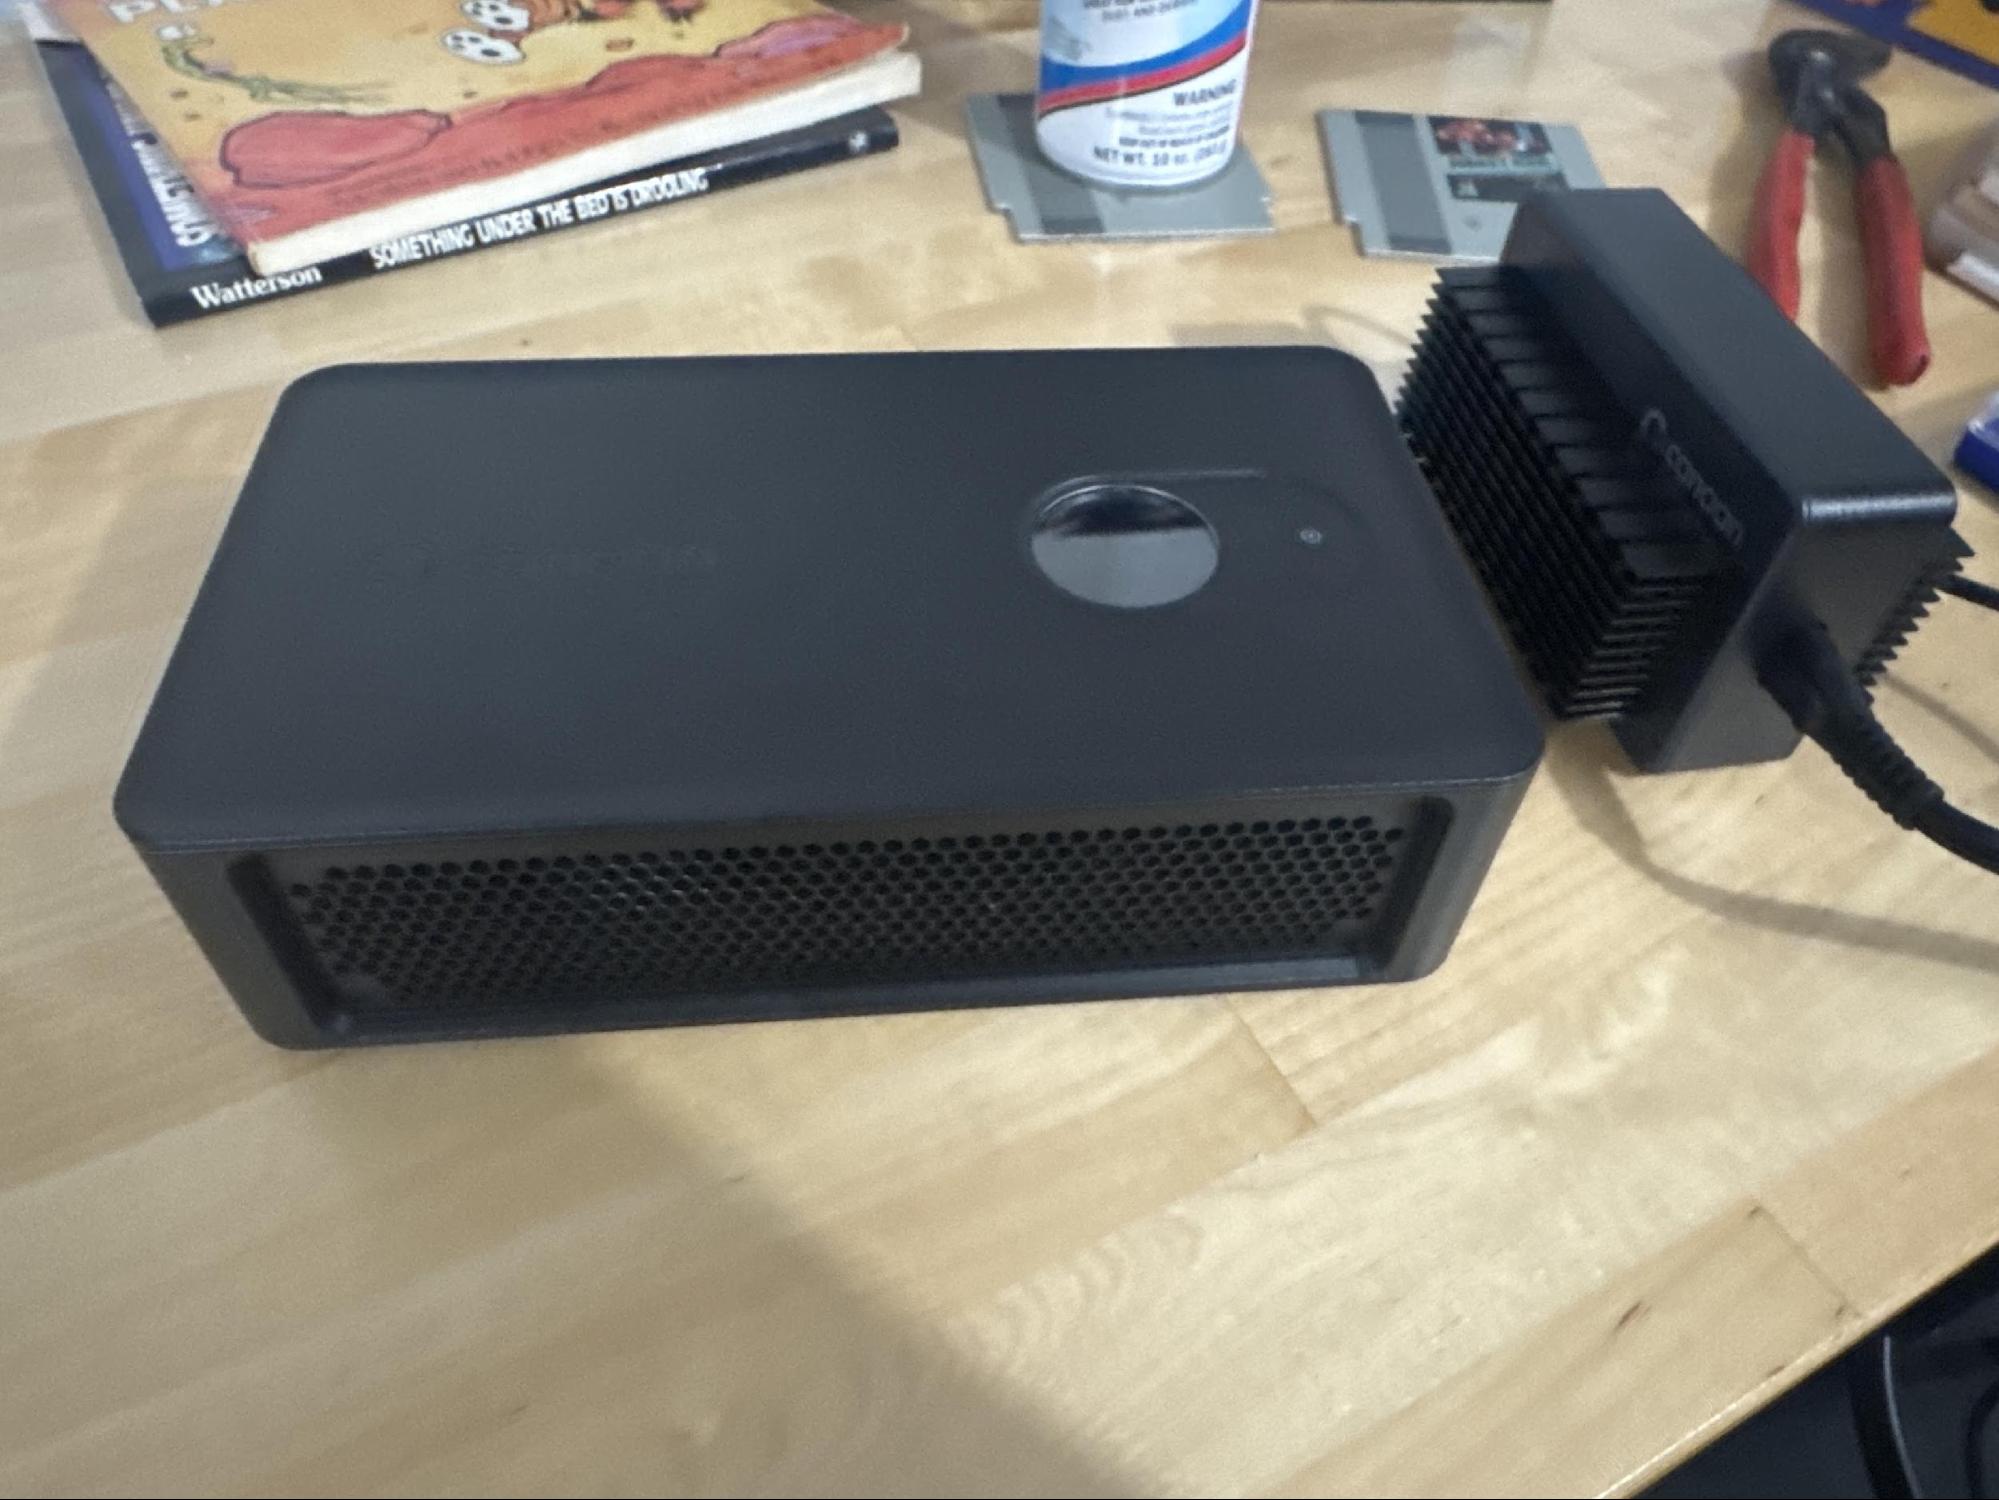
Plug the Wifi dongle and Canaan PSU back in and give the unit a minute to spin up. If for some reason the unit doesn't turn on by itself, hold down the power button for a couple seconds. If it still doesn't power up but you have a light on the PSU brick double check that the USB-C connector is fully seated into the unit. I've seen some of these where you really gotta push it in there for it to seat.
Once powered on, the fans will ramp through their startup sequence and settle into normal operation. Let it run 10–15 minutes before checking temps or hashrate, these units take forever and a day to get up to full speed, and that's normal.
How Often Should You Do This?
For a unit running 24/7 on High, aim for every 3–6 months depending on your environment. Dusty basements push you toward the shorter interval. Filtered intake or a cleaner environment can stretch it but I actually run mine with the filter removed for maximum airflow.
Signs you're due: chip temps consistently 10°C+ above baseline, fans running noticeably louder than usual, or visible dust caking on the exhaust mesh. If you're seeing any of that, pull it apart. The whole process takes under an hour once you've done it once.
The Avalon Nano 3S is a solid little machine. Take care of it and it'll hash for years. I hope this write-up helps at least one person out there. If you have any questions ping me @metaprinter on AtlasPool Discord.
Interested in picking up an Avalon Nano 3S for yourself?
Buy from Altair →AtlasPool partner · Ships from the US
Questions, corrections, or feedback? Reach out to @AtlasPool_io on X, or join us on Discord.